S3 Website Overview Hands On
Okay, so let’s enable our bucket to be a website.
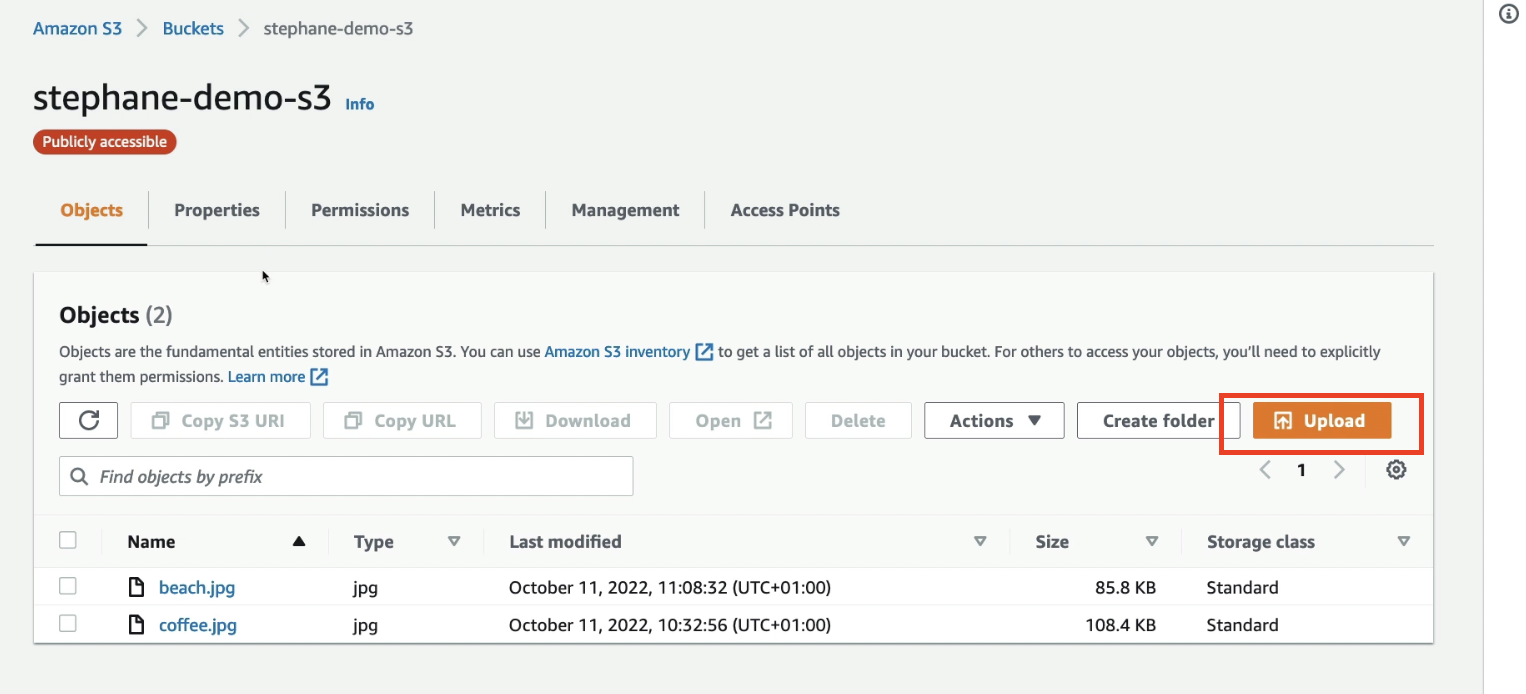
📁 Step 1: Upload an Additional File
- First, upload one more file to the bucket:
→
beach.jpg
Here is the image for you to download:

- Upload is successful.
→ Now we have two files in the bucket.
⚙️ Step 2: Enable Static Website Hosting
- Go to the Properties tab.
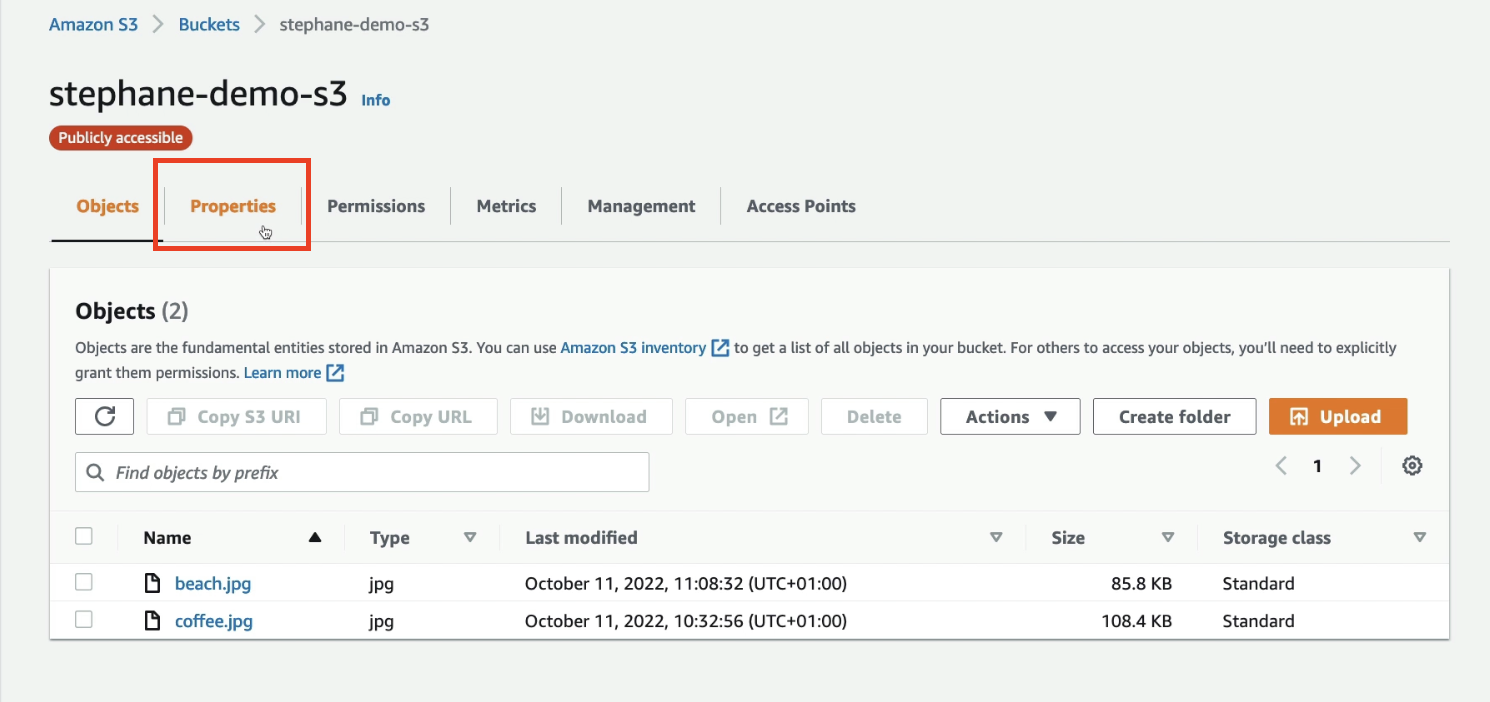
- Scroll all the way down to find Static website hosting.
- Click on Edit.
In the configuration:
- Select: Enable static website hosting
- Choose: Host a static website
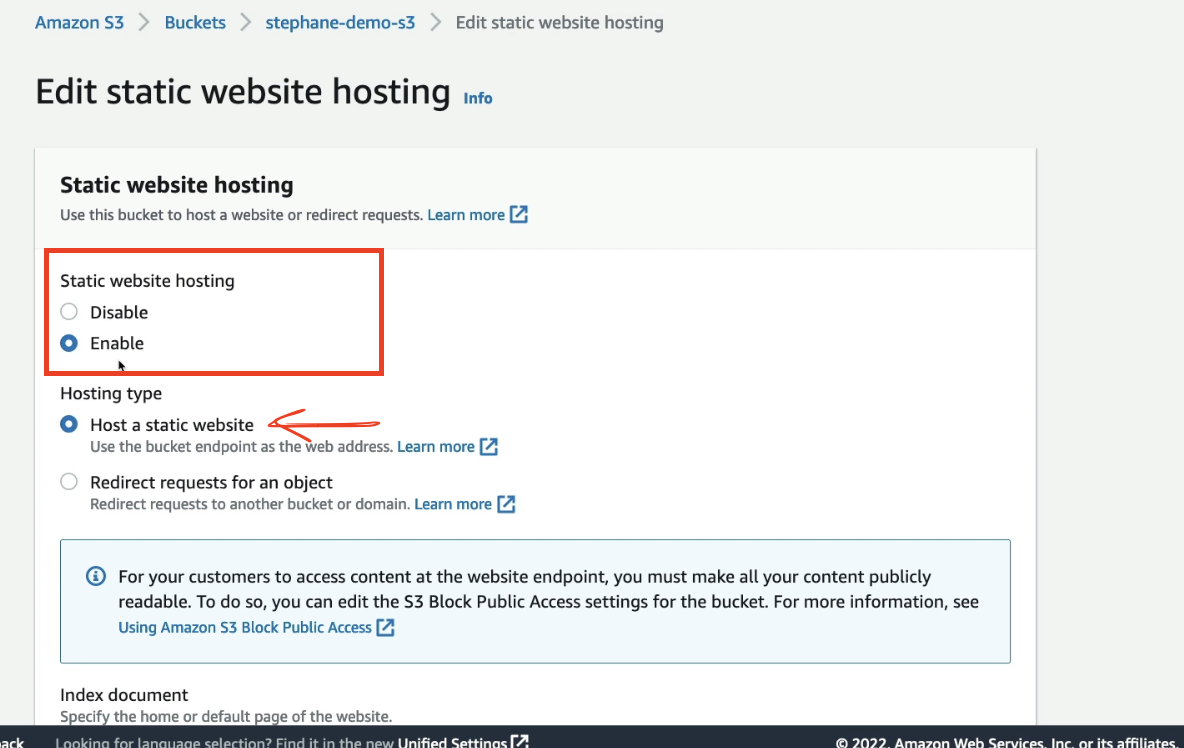
- Specify the Index document:
→index.html
📌 This file will be the default/homepage of the website.
-
A warning will appear:
→ If you want to enable this as a website endpoint, you must make all your content publicly readable. (V.V.IMP) -
Since we already did this in the previous lecture using a public bucket policy, we’re good.
-
Click Save.
📤 Step 3: Upload the Index File
-
Go back into the Objects tab.
-
You’ll notice the
index.htmlfile is still missing. -
Click Upload
- Add file:
index.html(I presummed that you would be having your dummy codedindex.htmlfile) - Click Upload, then Close
- Add file:
-
Now
index.htmlis uploaded.
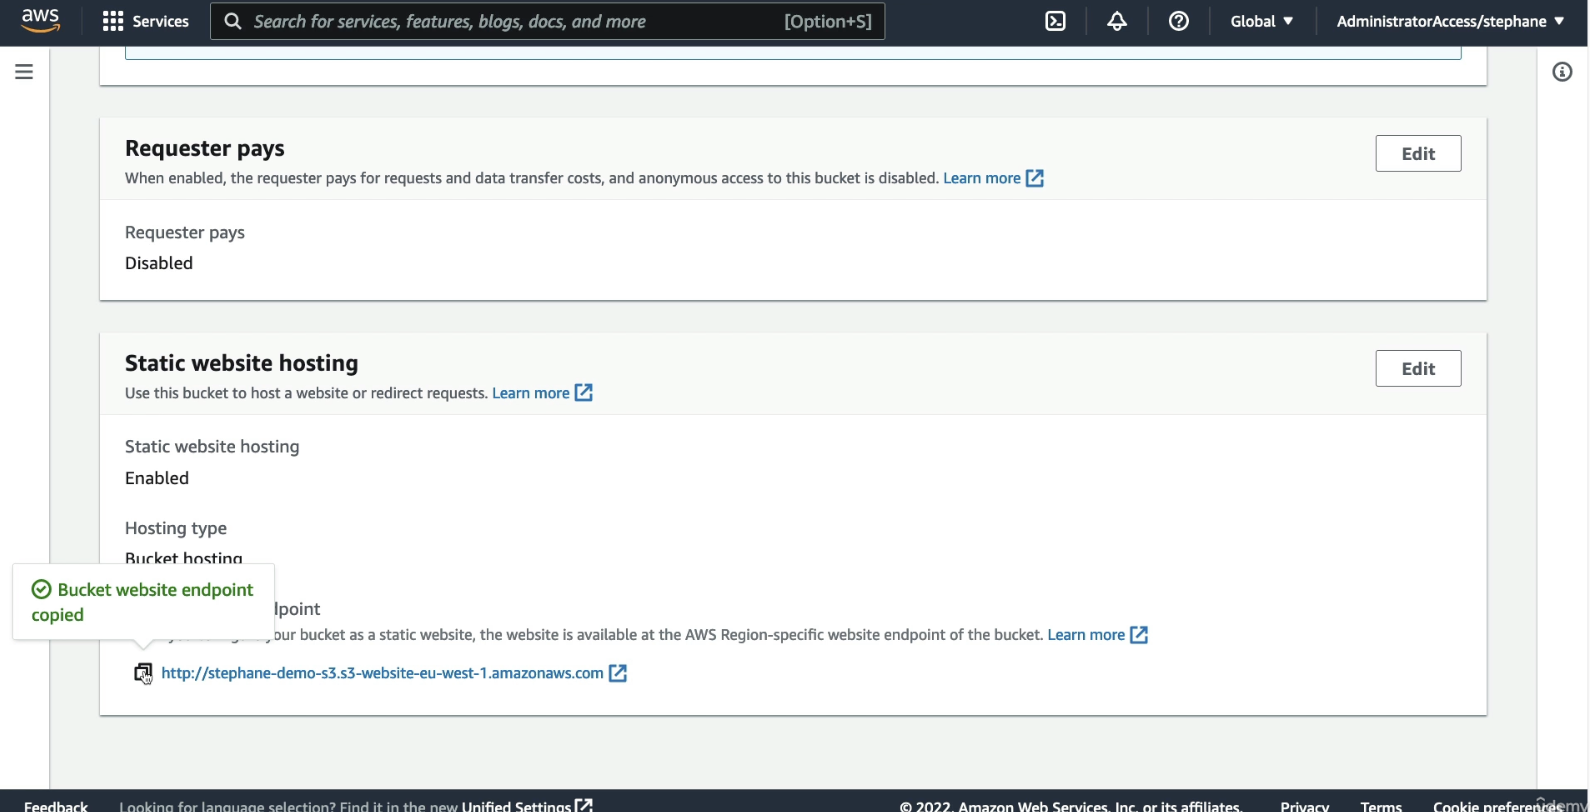
🔗 Step 4: Access Website via Endpoint
- Go back to Properties tab.
- Scroll down again to Static website hosting.
- Now you will see a Bucket website endpoint.
- Copy the URL and paste it in your browser.
✅ The page shows: “I love coffee. Hello world!” And displays
coffee.jpg.

📸 Step 5: Test Public URLs for Images
-
Right click on
coffee.jpgand open it in a new tab. → You can access the public URL. -
Similarly, edit the url in the browser engine, and change
coffee.jpgtobeach.jpg
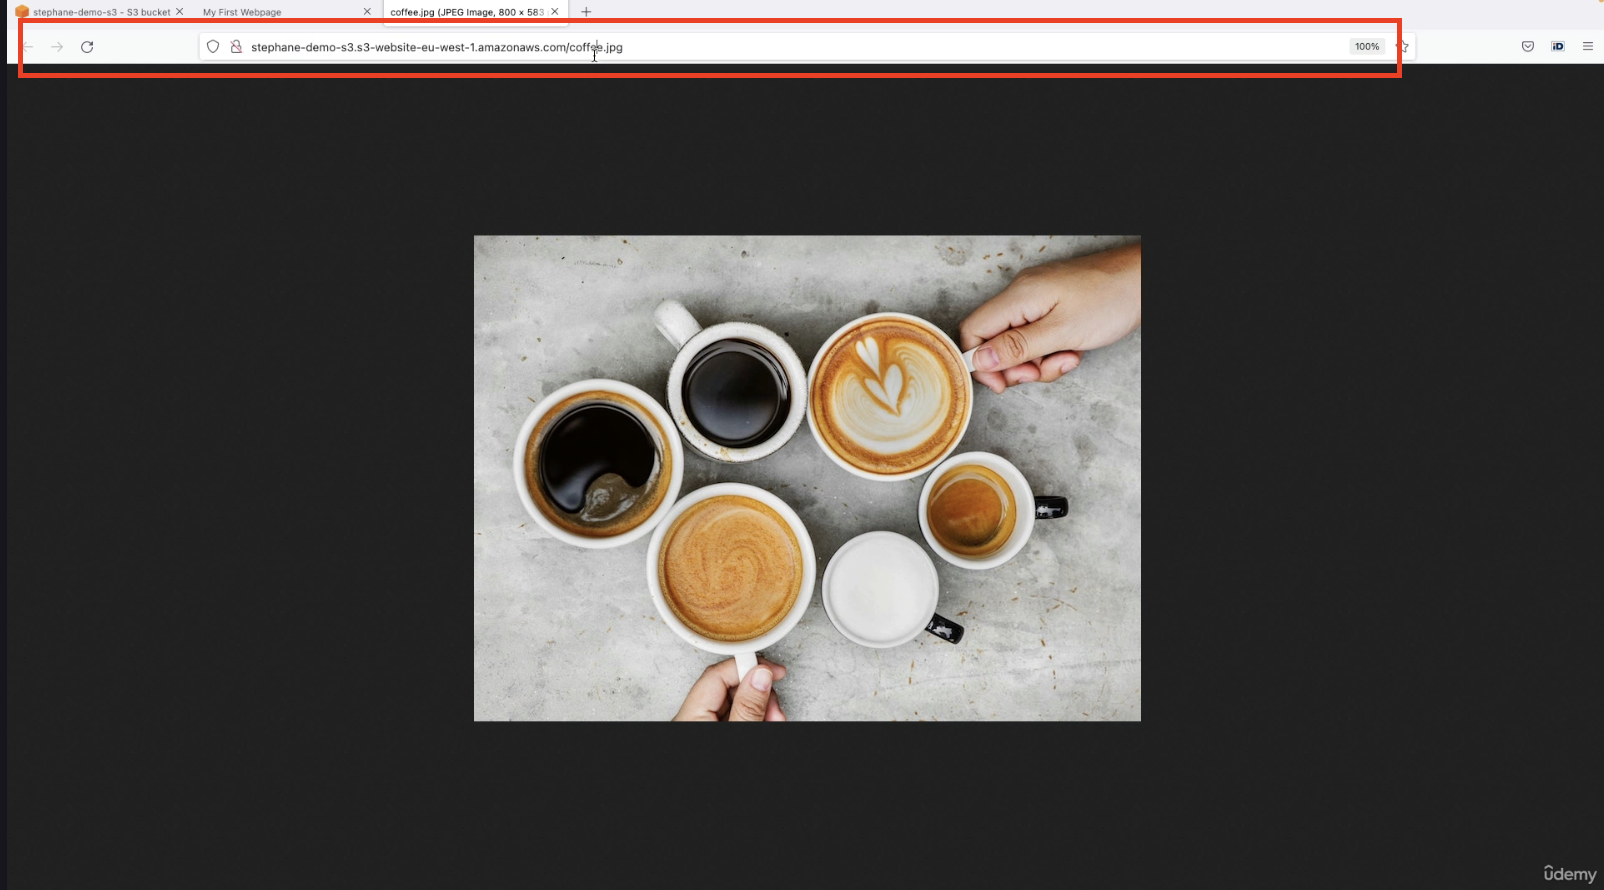
→ You can also see the beach image in a new tab.