S3 Security Hands On
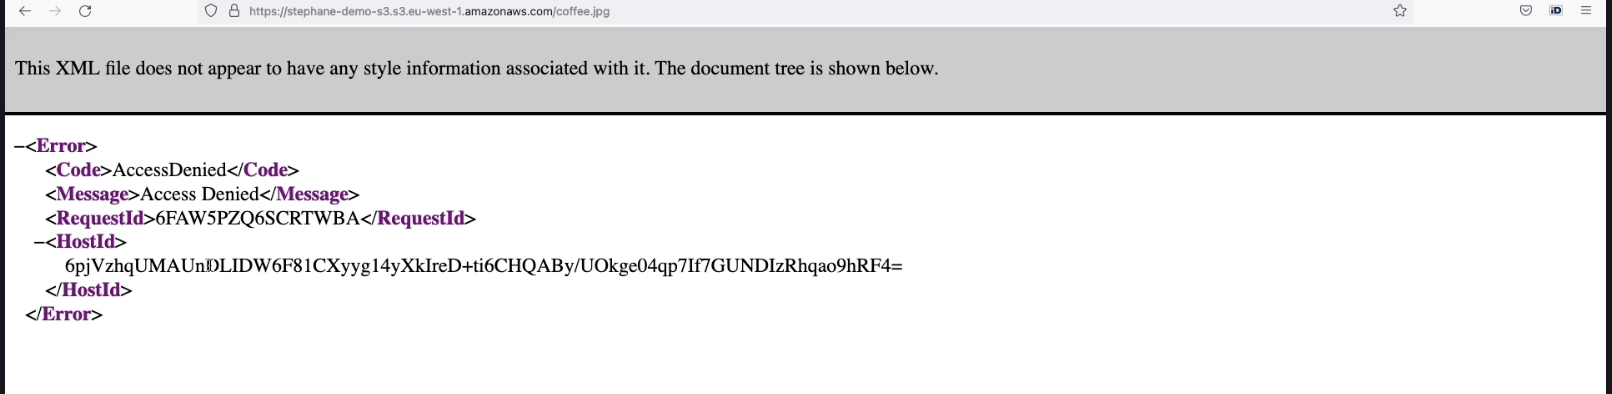
Now let’s go ahead and make a bucket policy so that we can access the coffee.jpg file from the public URL. Here is the image so that you can download it:

and this is how the public url will look like:
Step 1: Allow Public Access from Bucket Settings
- Go under the Permissions tab of S3 buckets

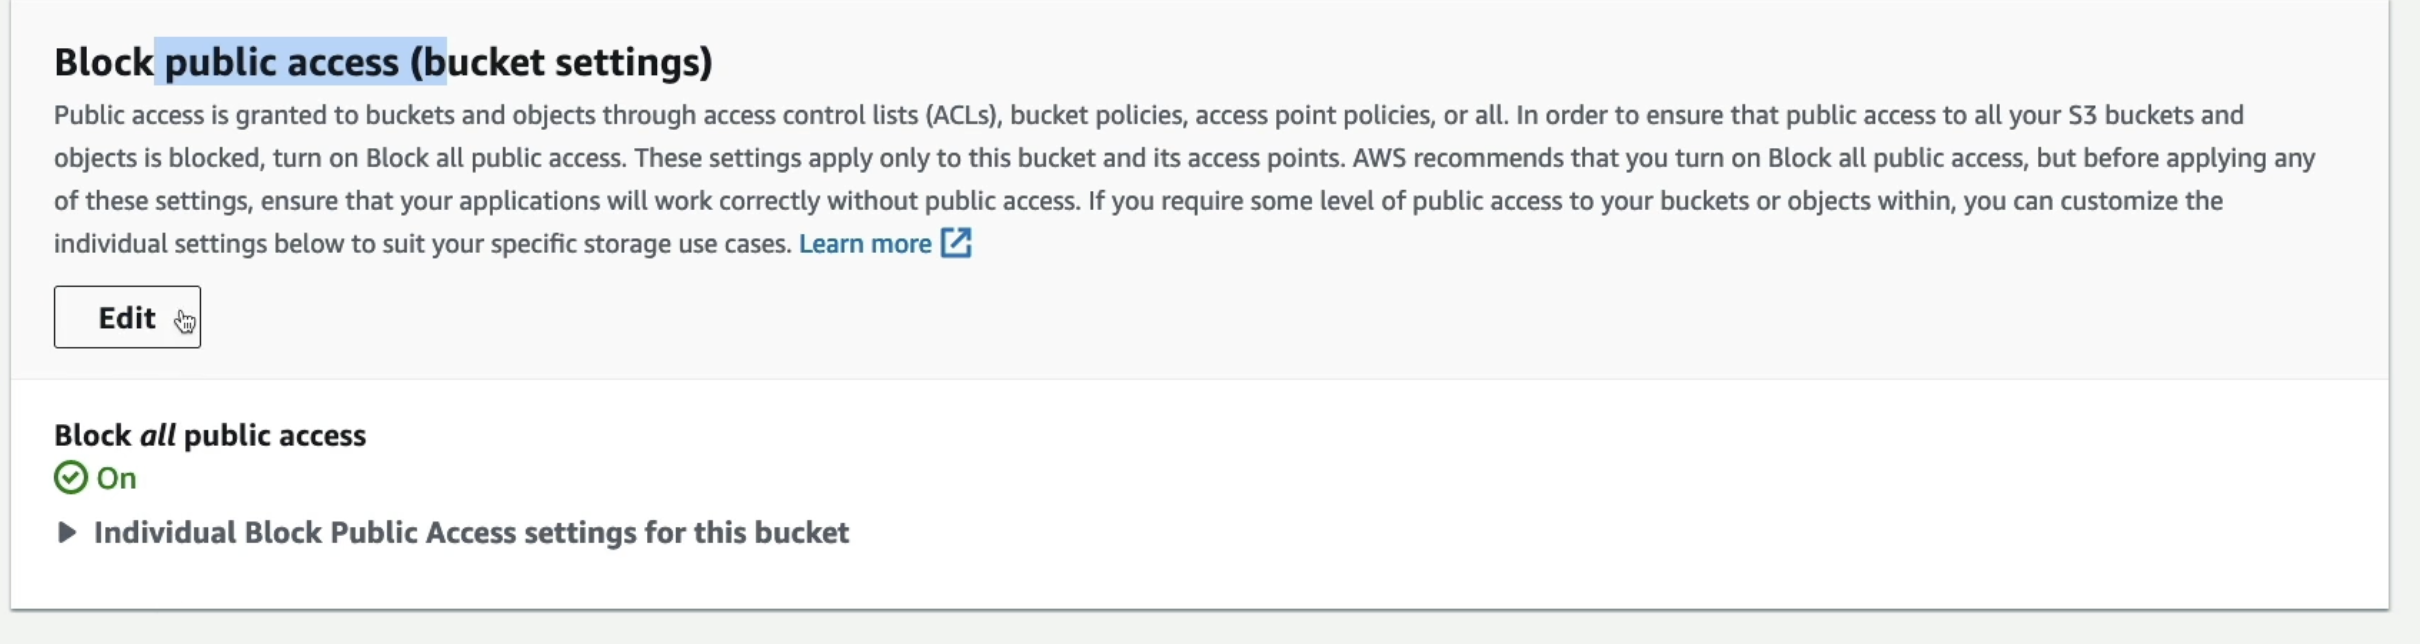
- The first thing to do is allow public access from the bucket settings, because right now everything is blocked.
- Click Edit, and untick the block options to allow public access.
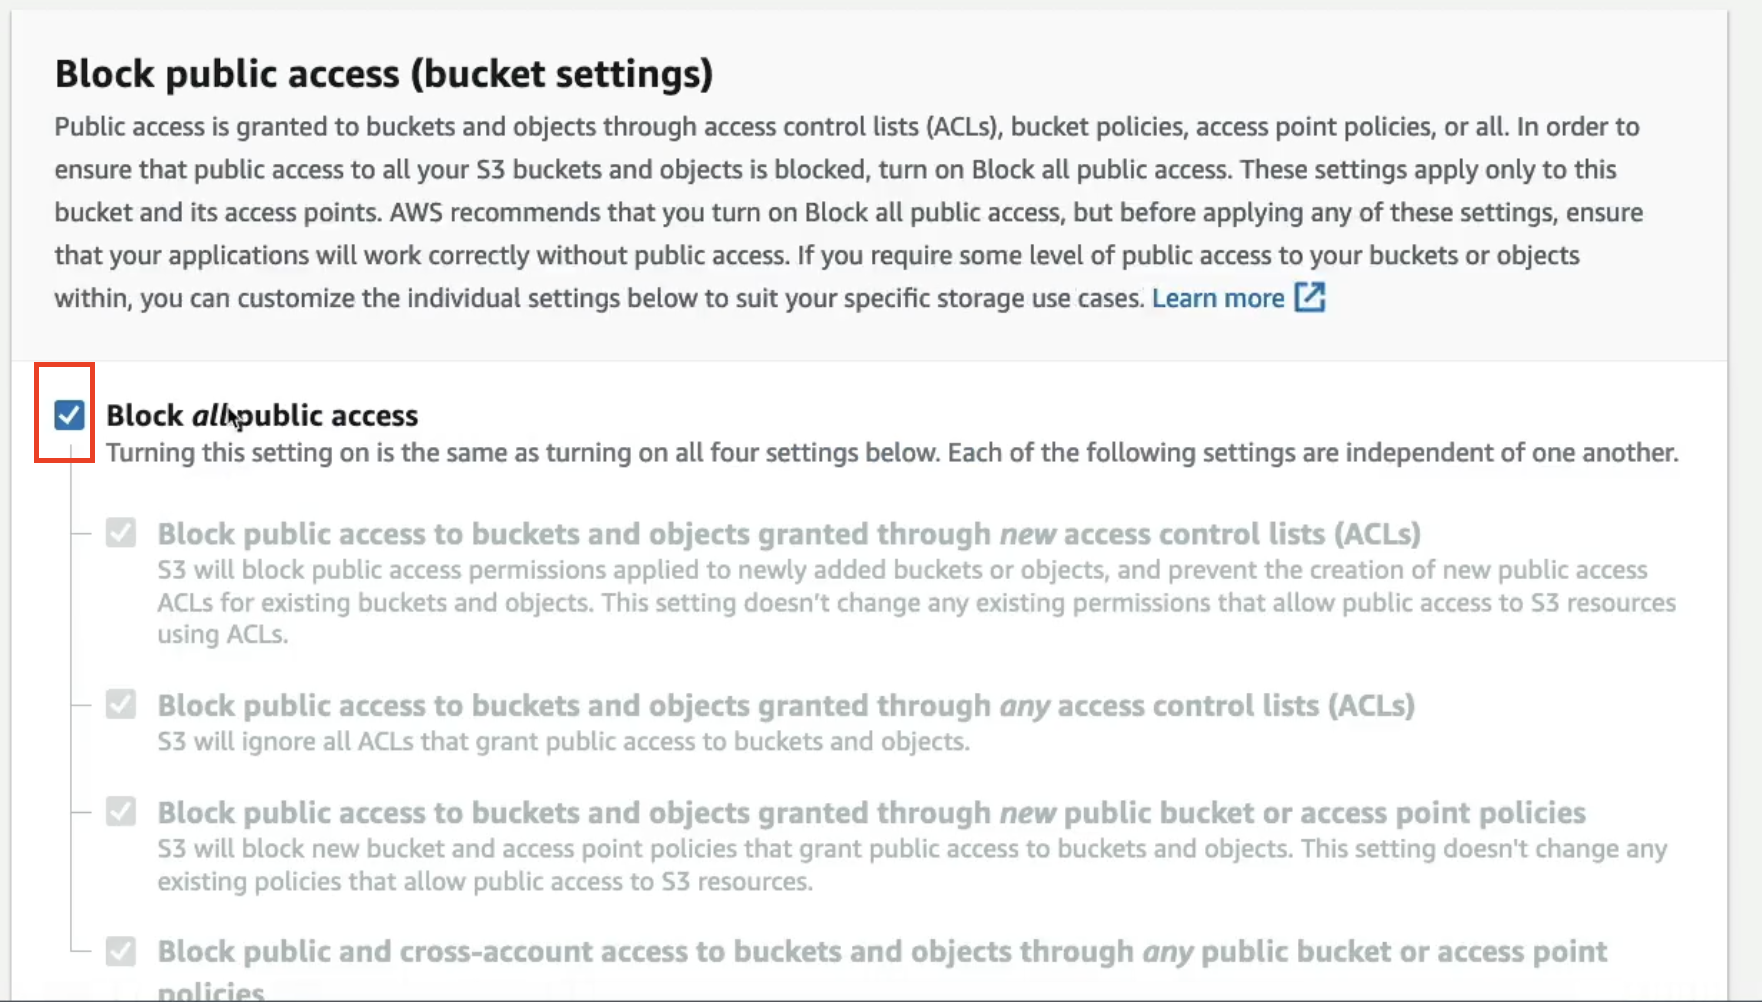
⚠️ This is a dangerous action and should only be done if you’re sure you want to make the bucket public. If this contains real company data, setting public access can cause data leaks, which is never good.
-
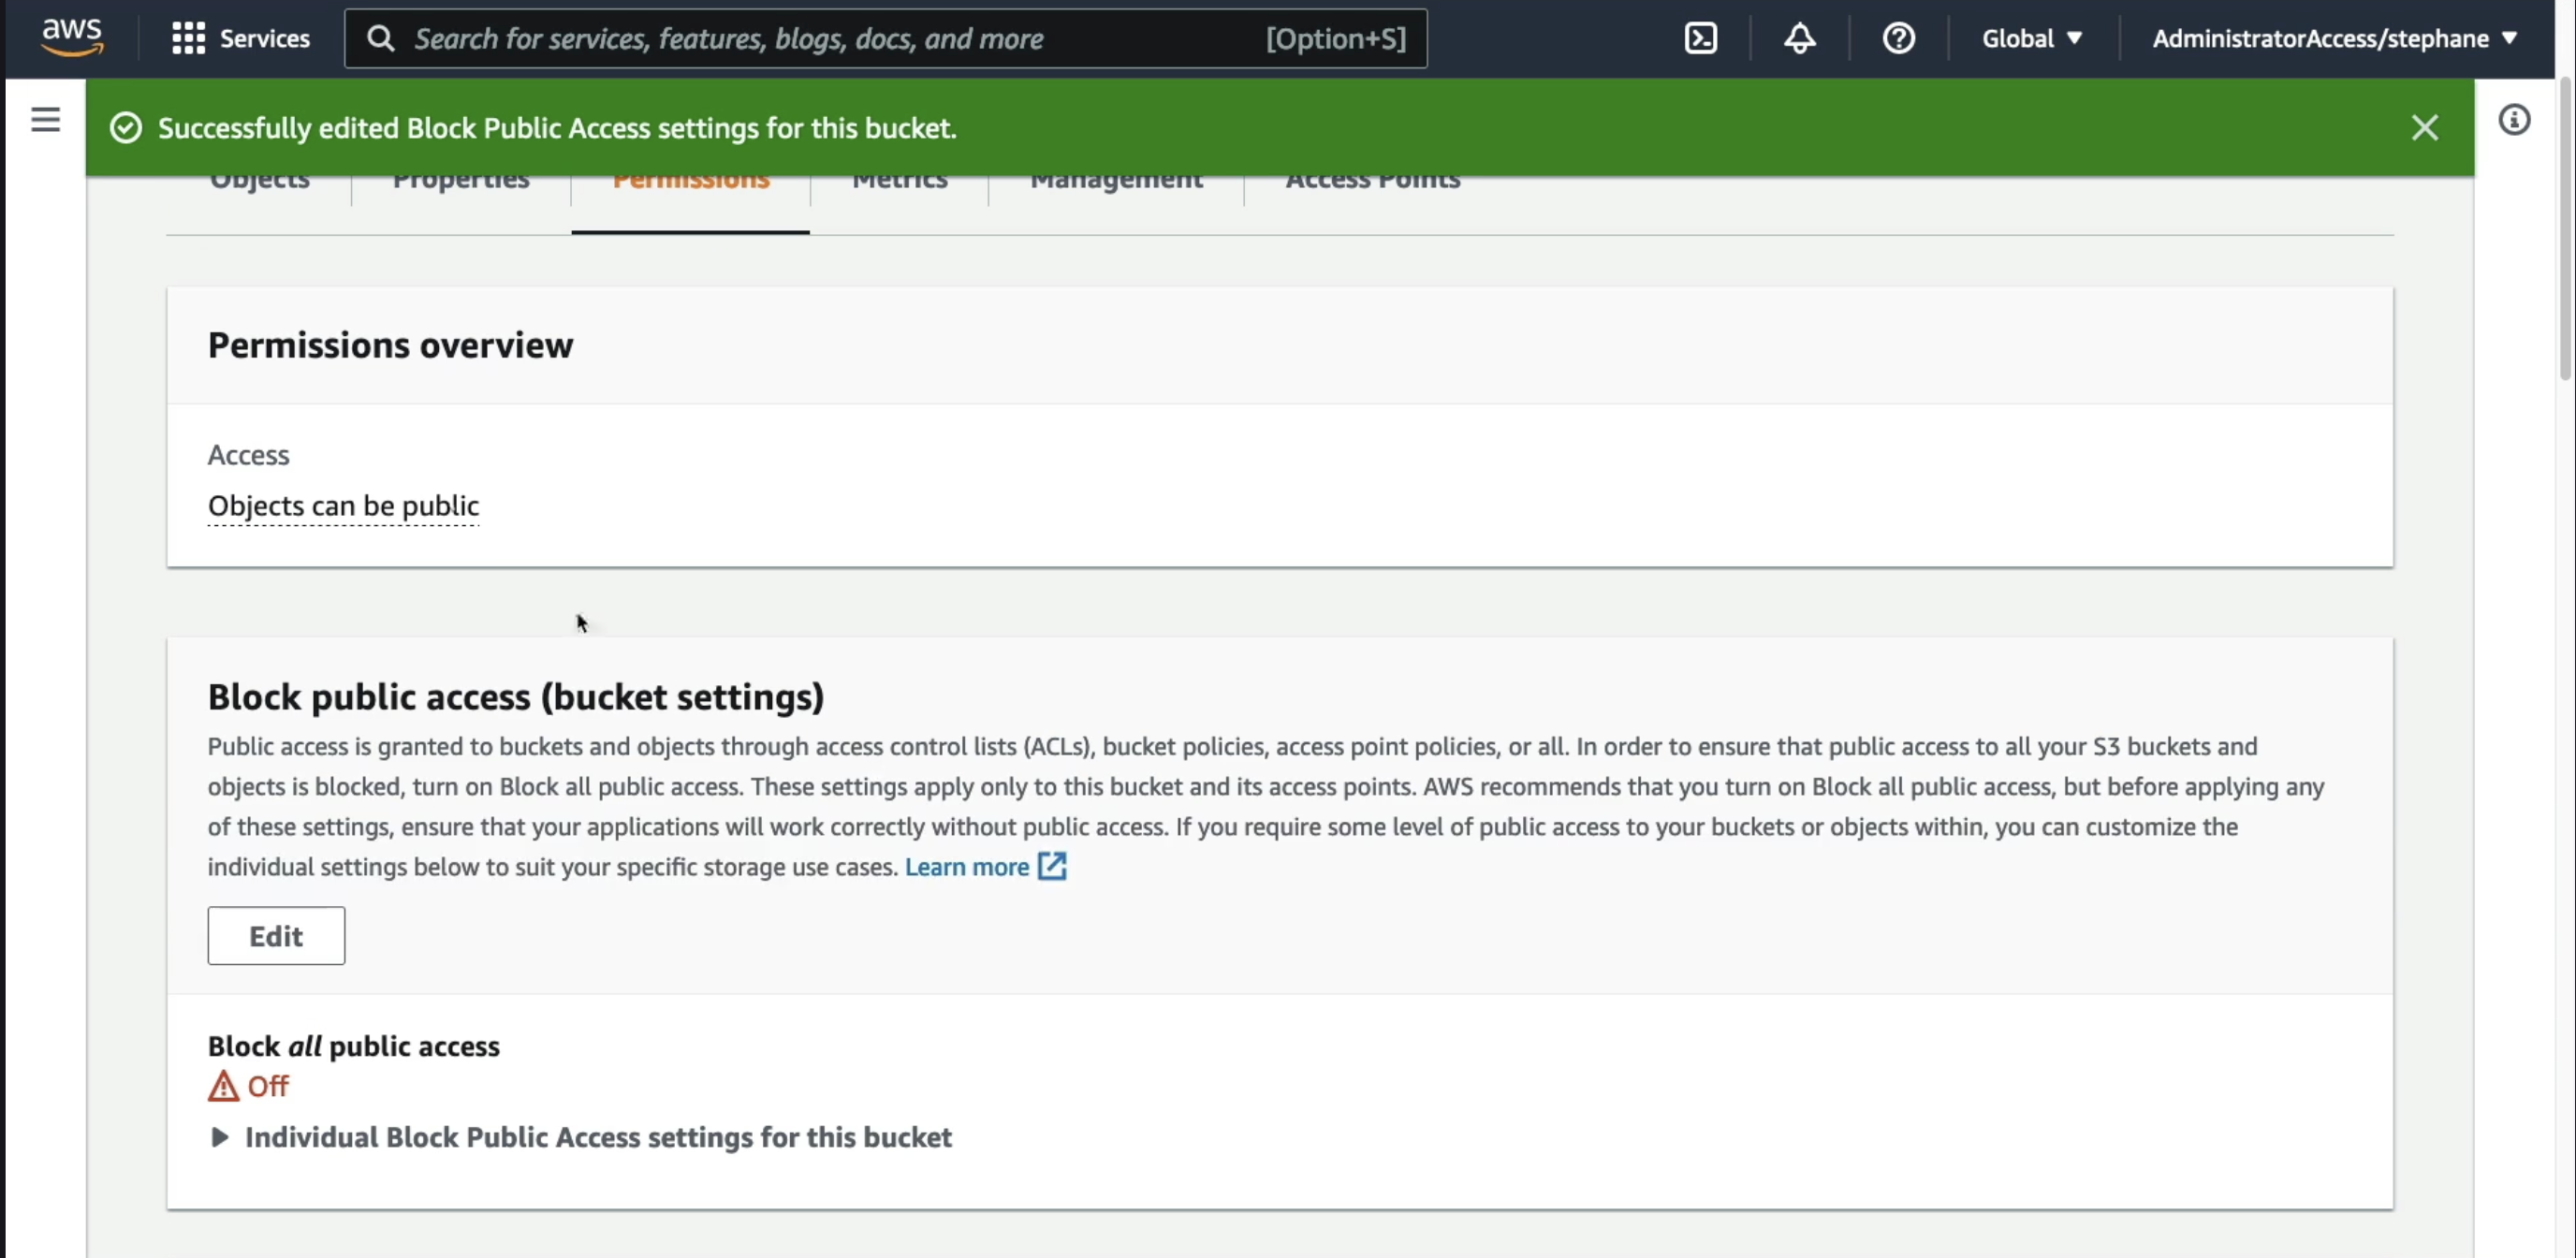
Once updated, under Permissions overview, it will show:
- Access: Objects can be public That completes the first step.
Step 2: Add a Bucket Policy
- Scroll down to Bucket policy.
- Currently, there is none.
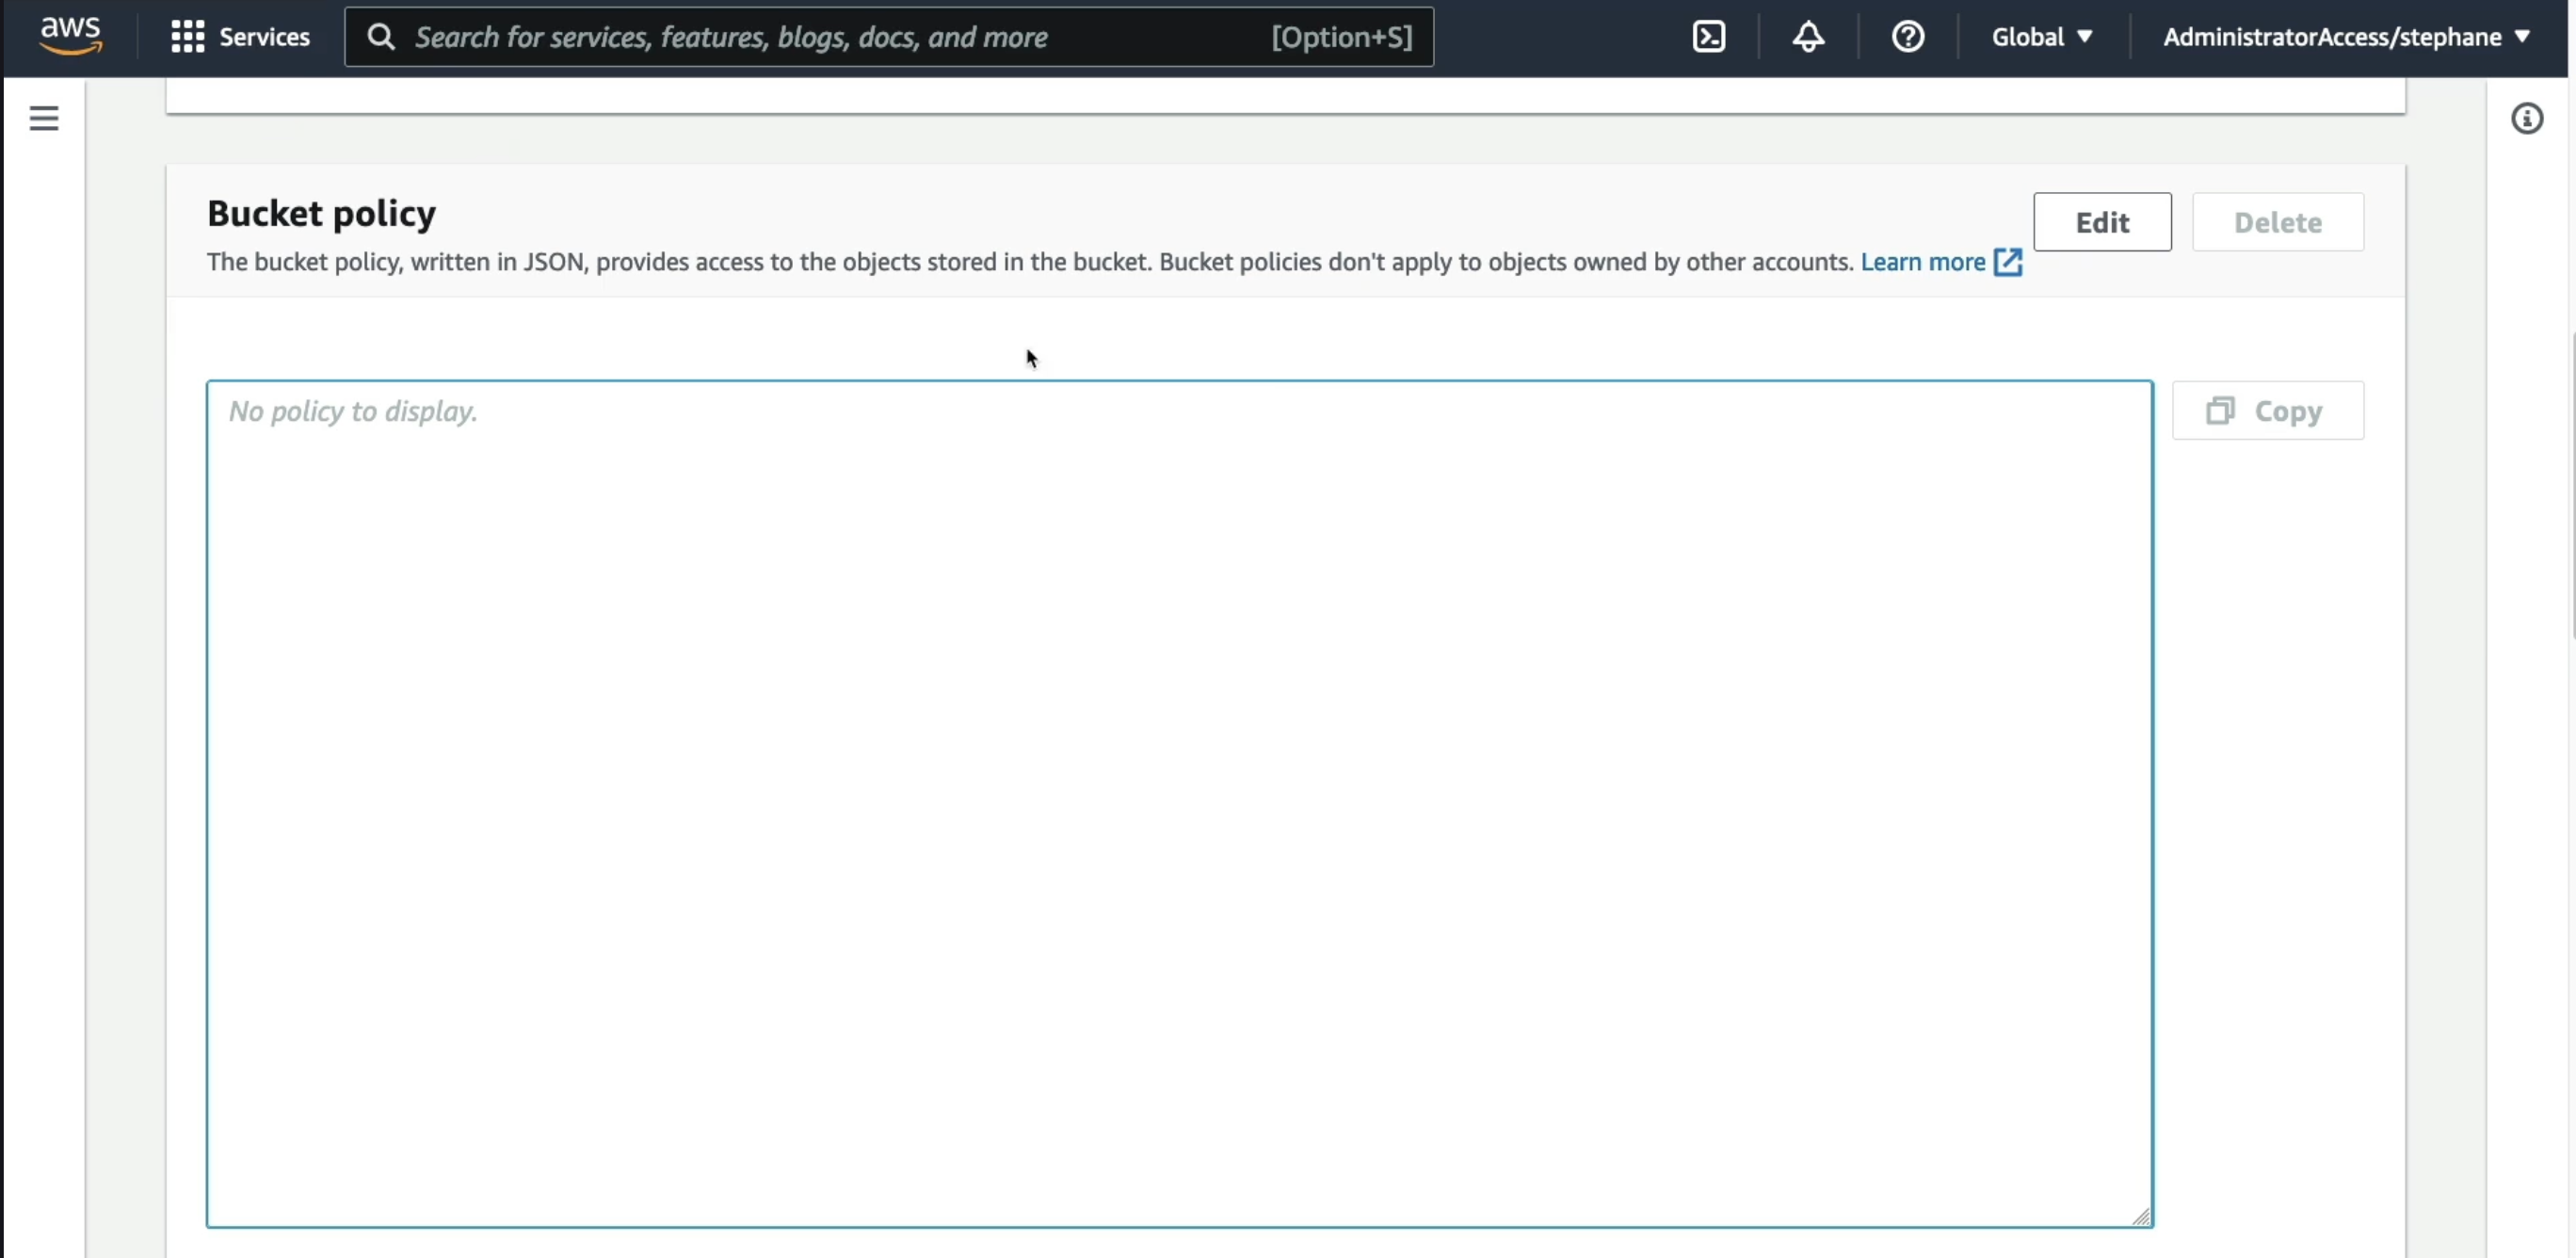
- We want to create one to make the entire bucket public. Click on Edit button.
- Then it will redirect to a page like shown below:
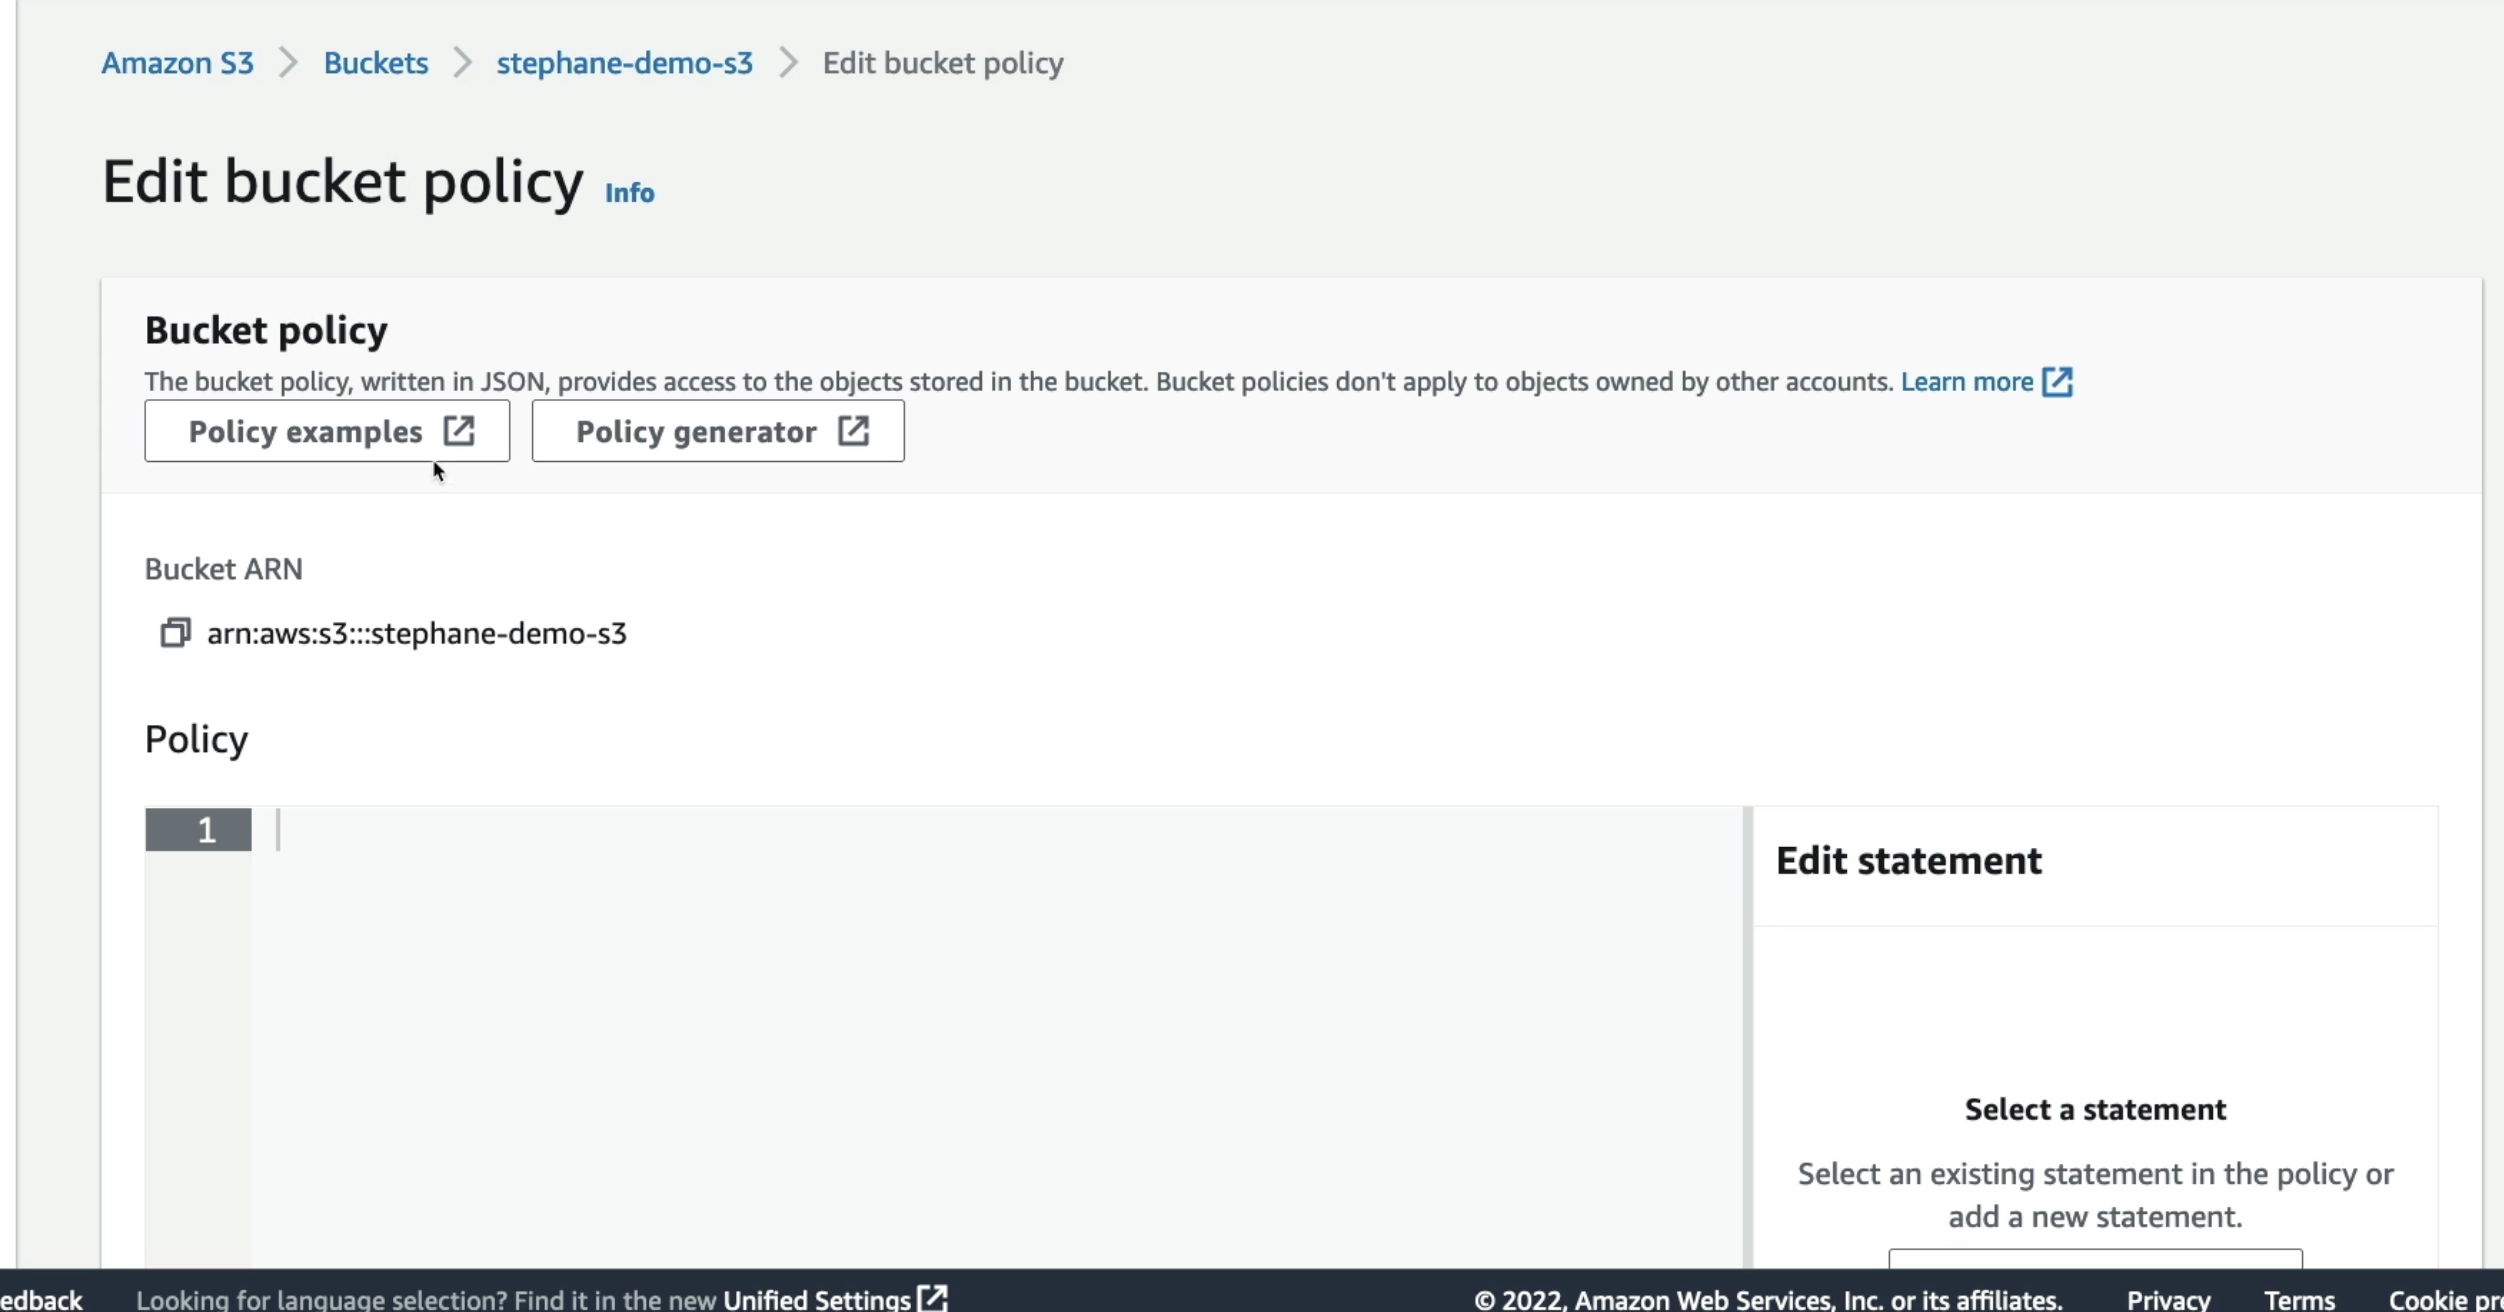
Options for Policy:
-
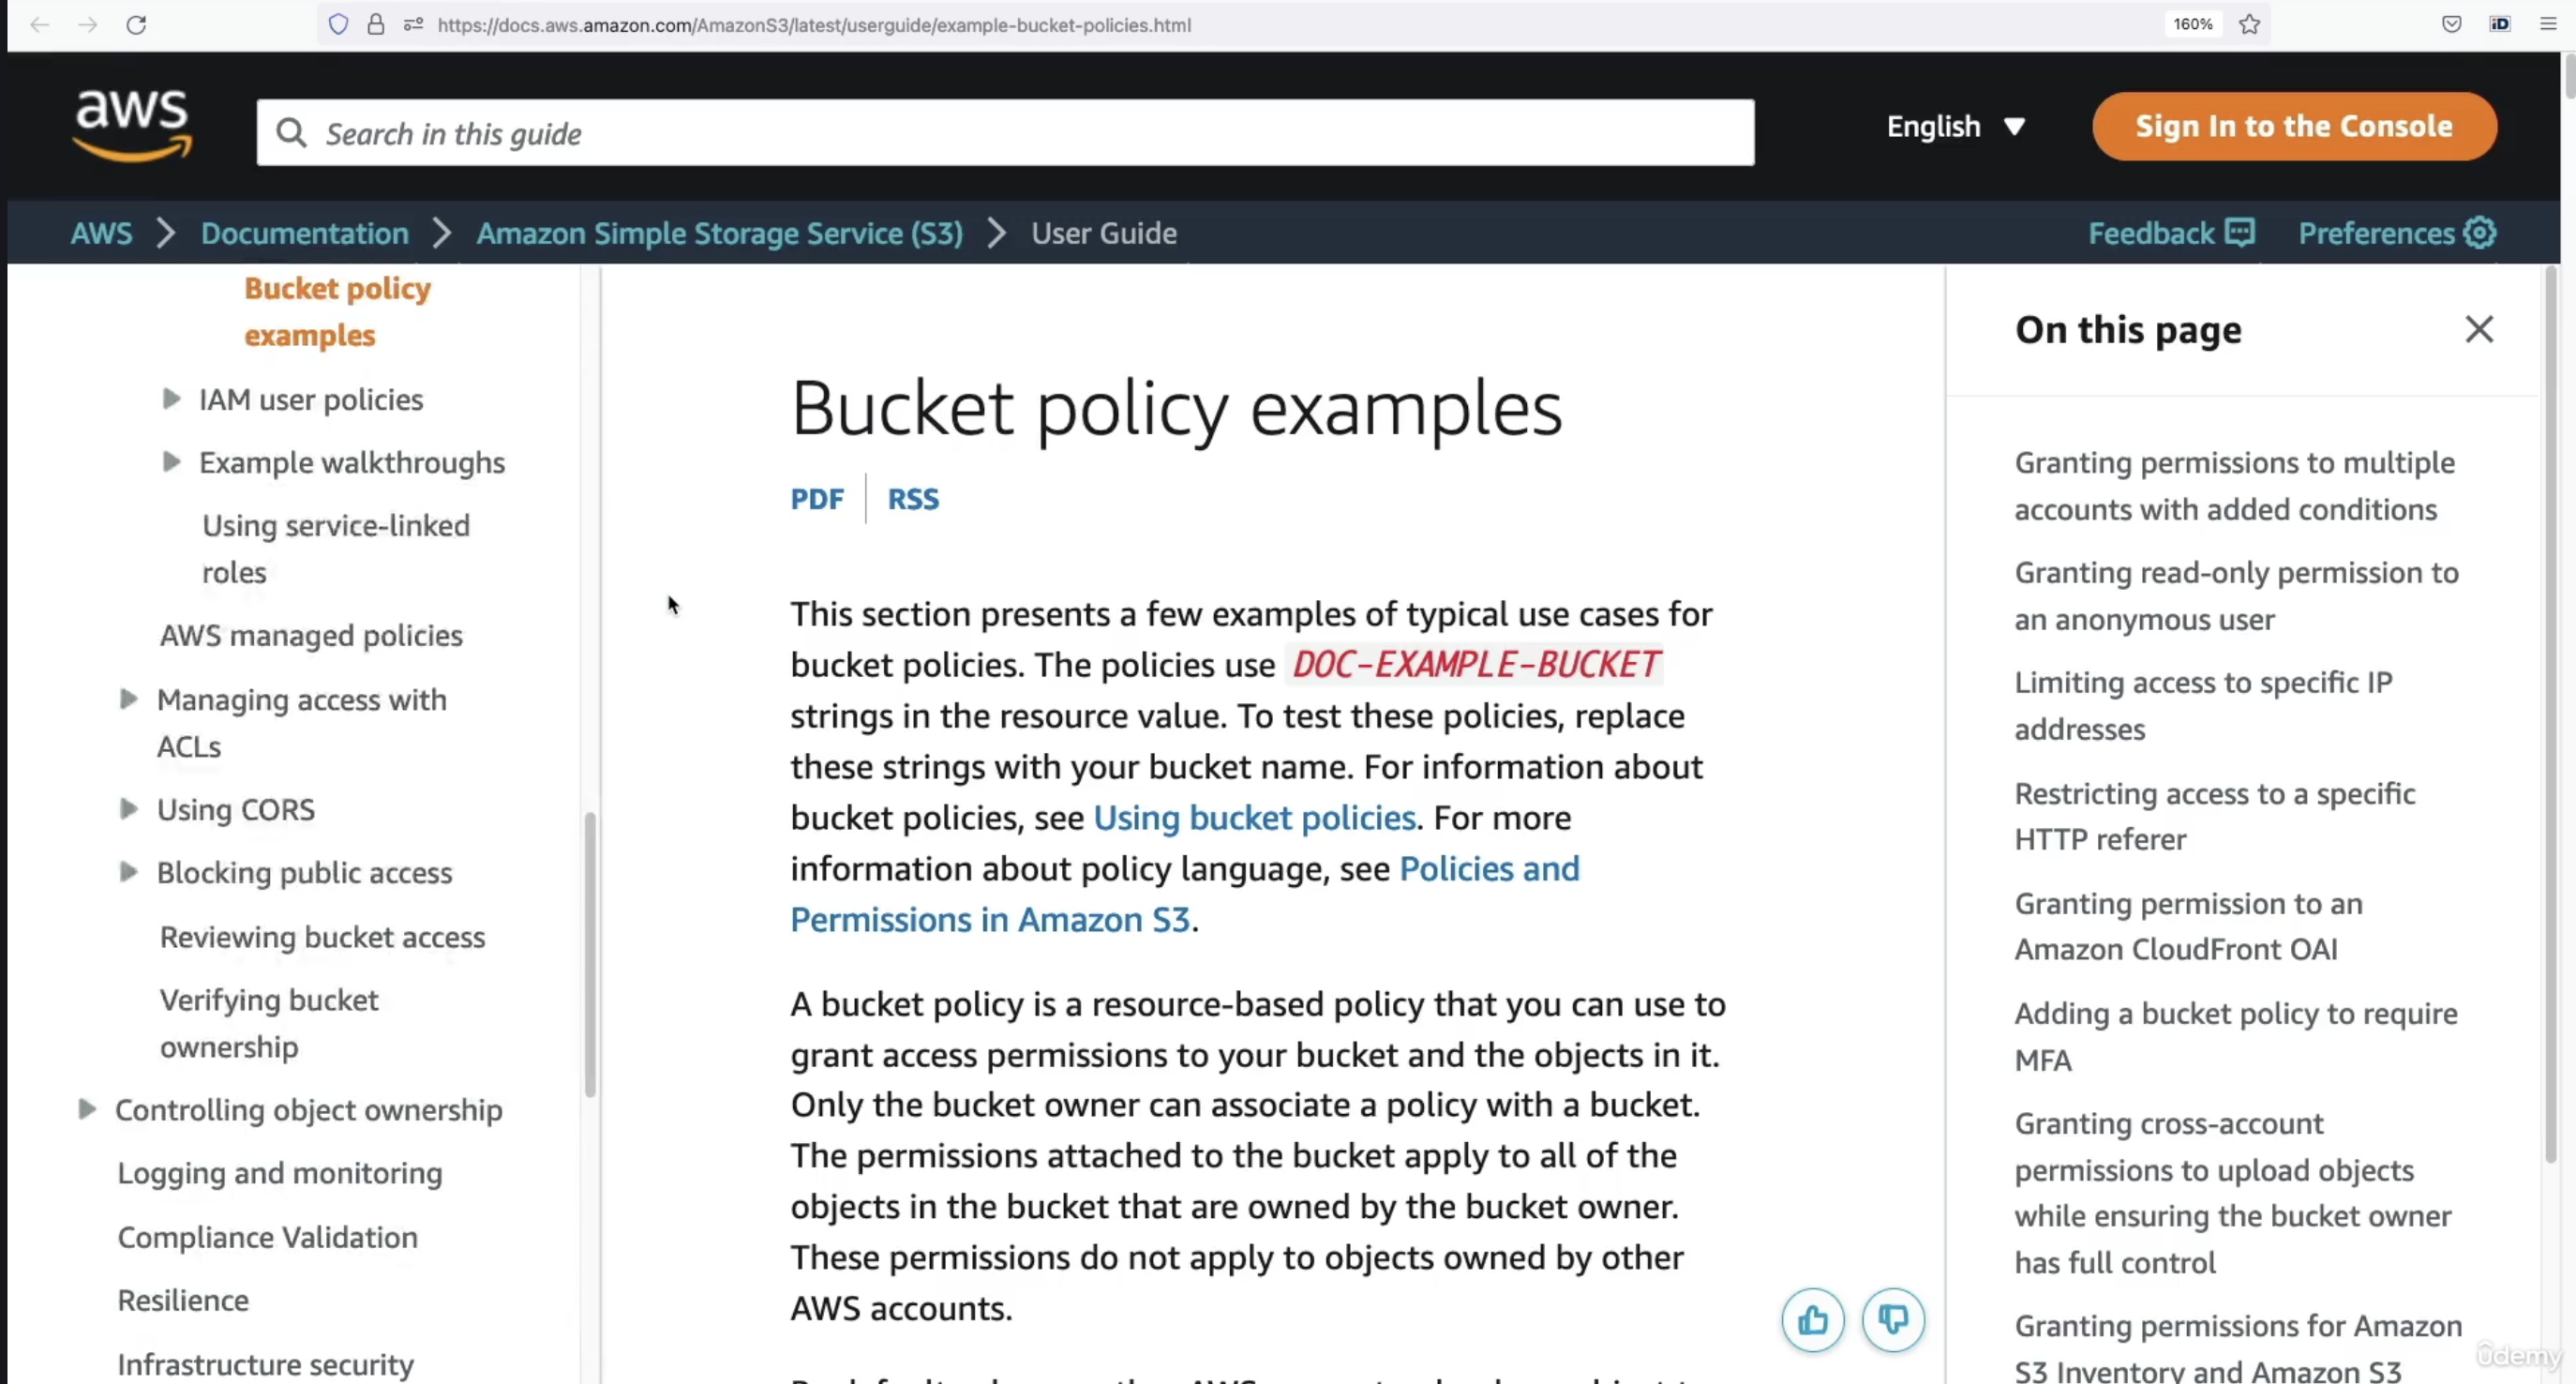
You can check Policy examples by clicking on the link provided (as shown in the image).
- AWS documentation shows many use cases and their corresponding bucket policies.
- But in this case, we’ll use the AWS Policy Generator. So click on Policy Generator link (as shown in the image)
🛠️ Step 3: Use AWS Policy Generator
- Go to the AWS Policy Generator.
- Select the type: S3 Bucket Policy.
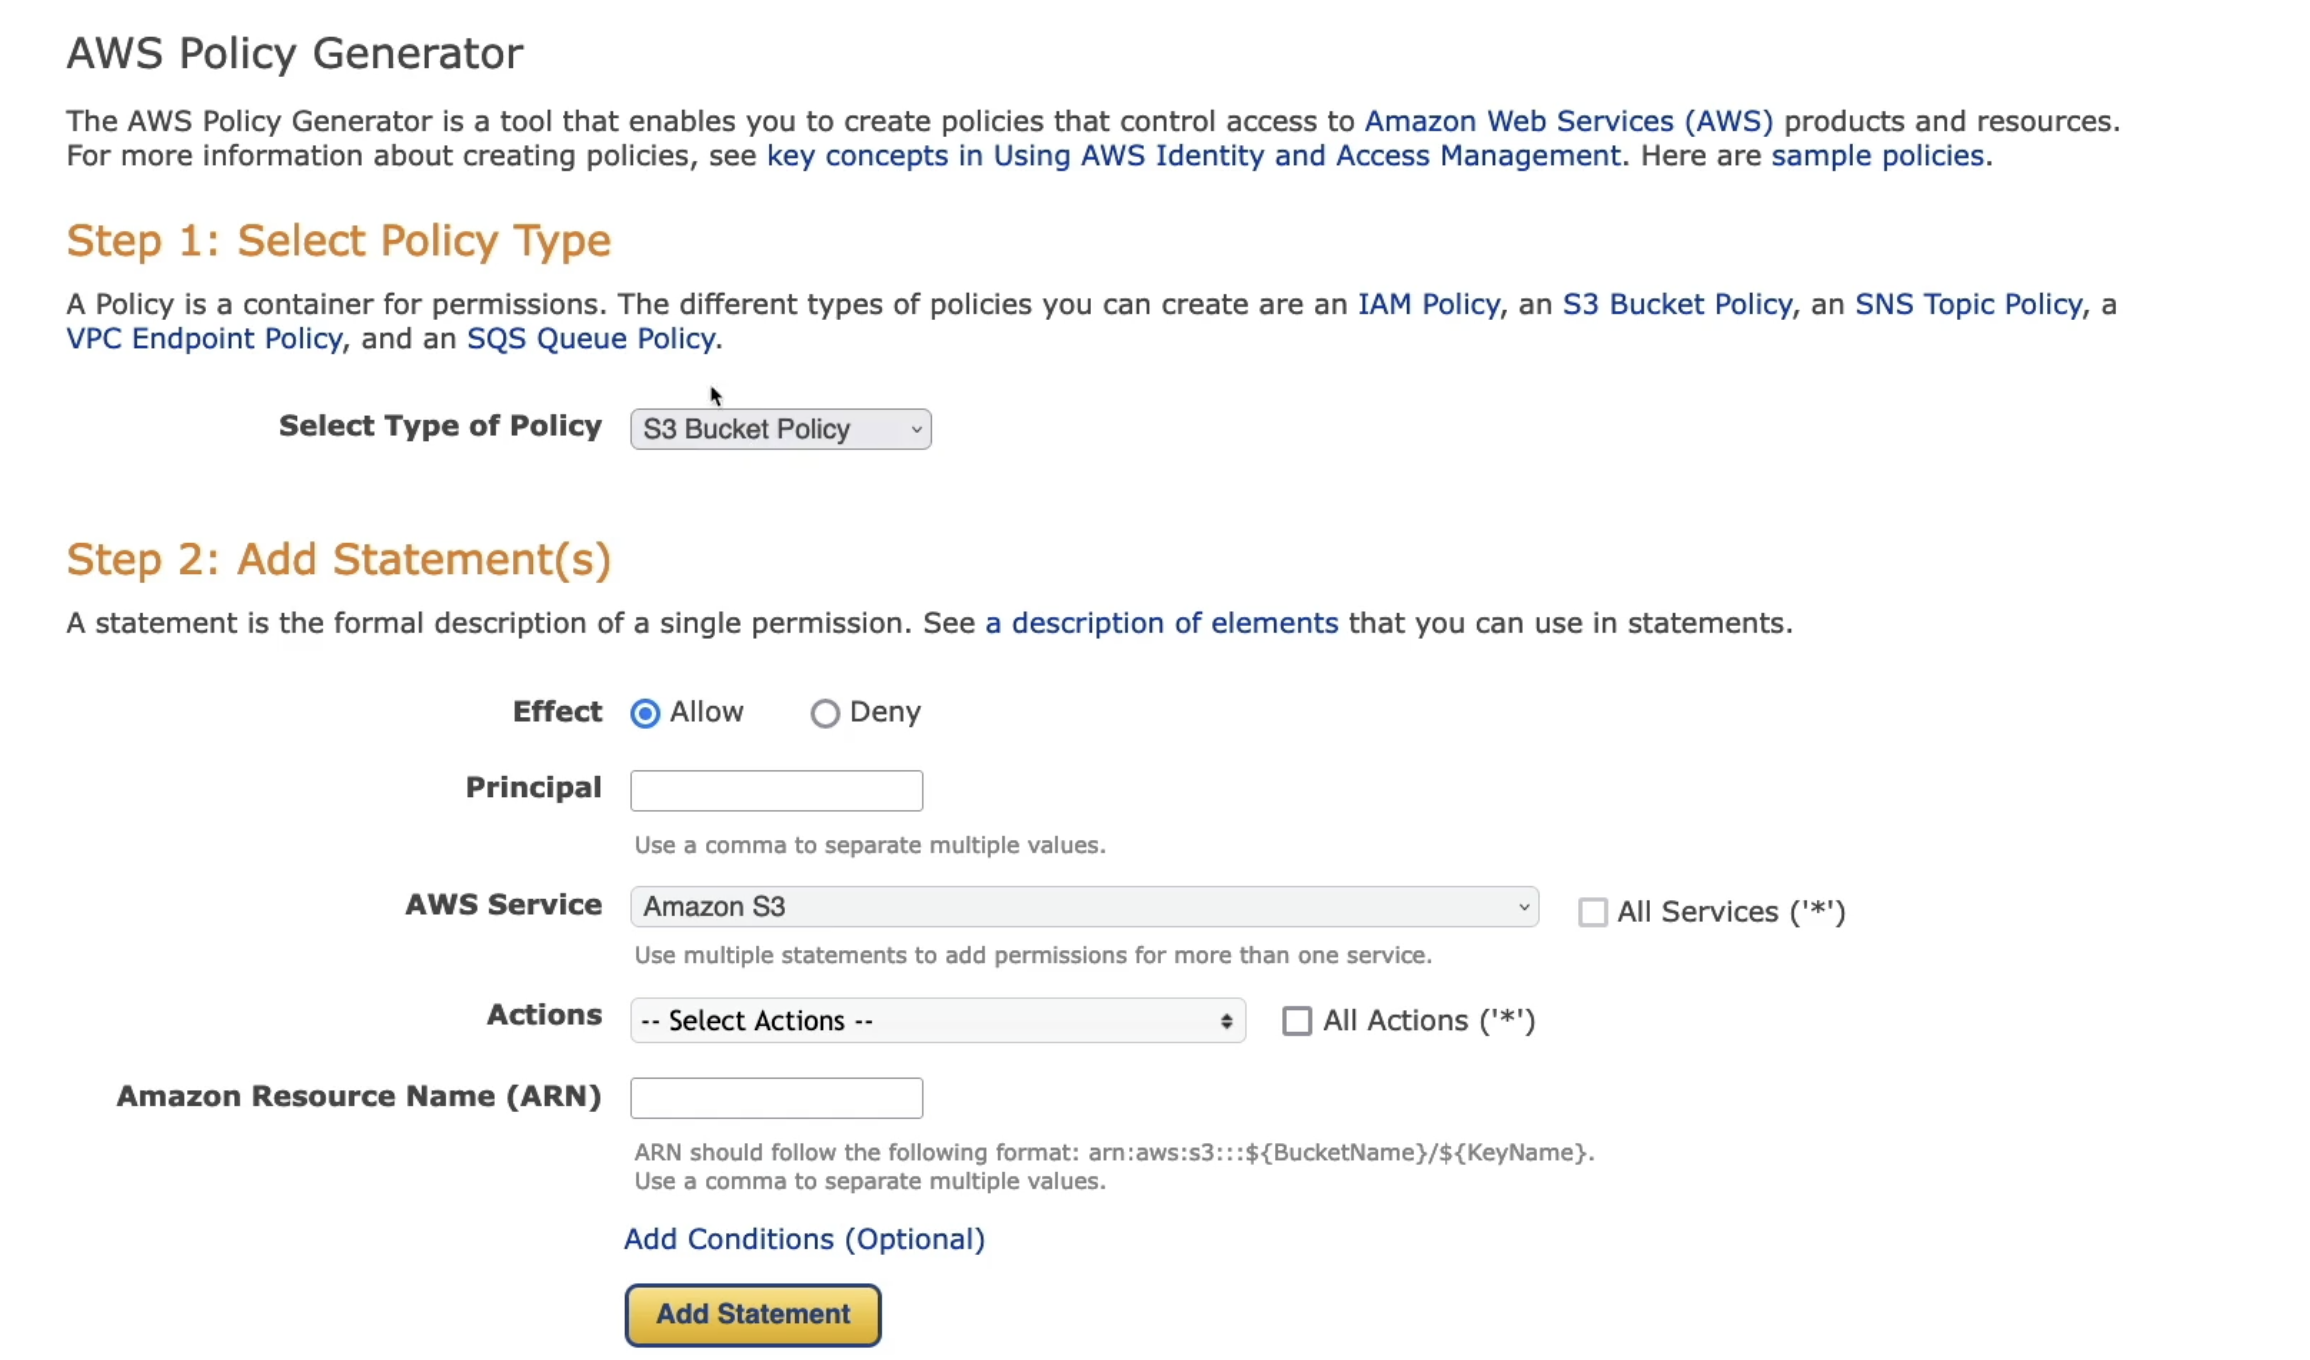
Fill in the fields:
- Effect:
Allow - Principal:
*(We want to allow anyone on the internet) - Service:
Amazon S3 - Action:
GetObject(We want users to be able to read objects in our bucket) - Amazon Resource Name (ARN):
So basically Amazon Resource Name should be the bucket name. How to find the bucket name, follow the steps given below:
- Go back to your S3 bucket in the console.
- Copy the bucket ARN shown there.
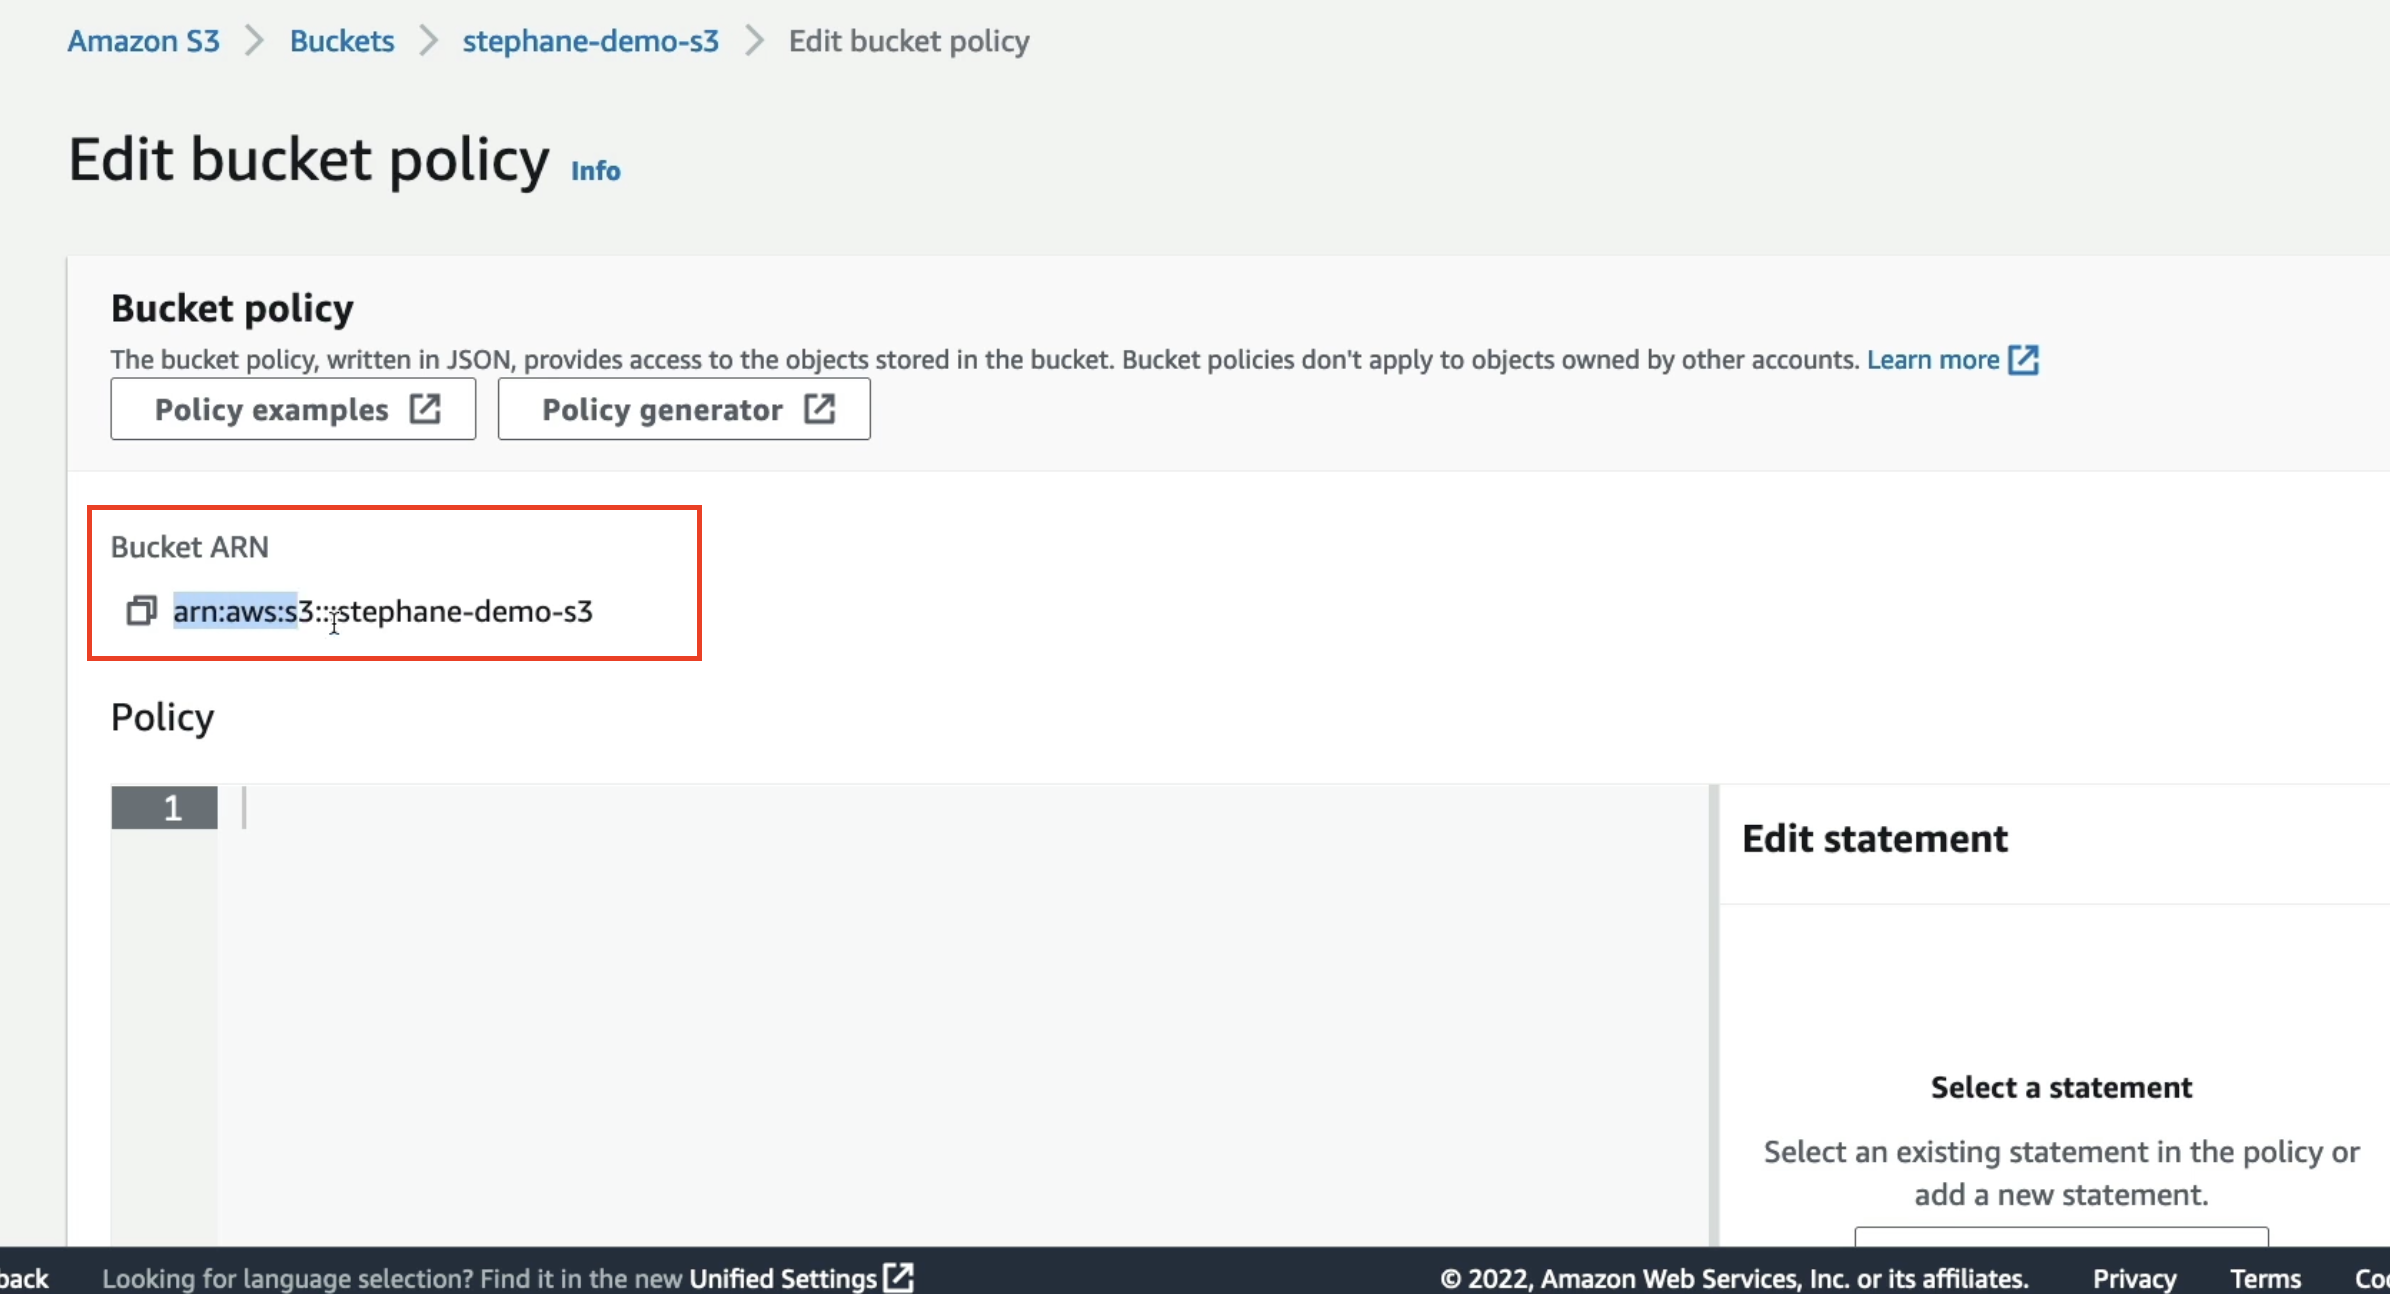
- Paste it into the ARN field in the generator.
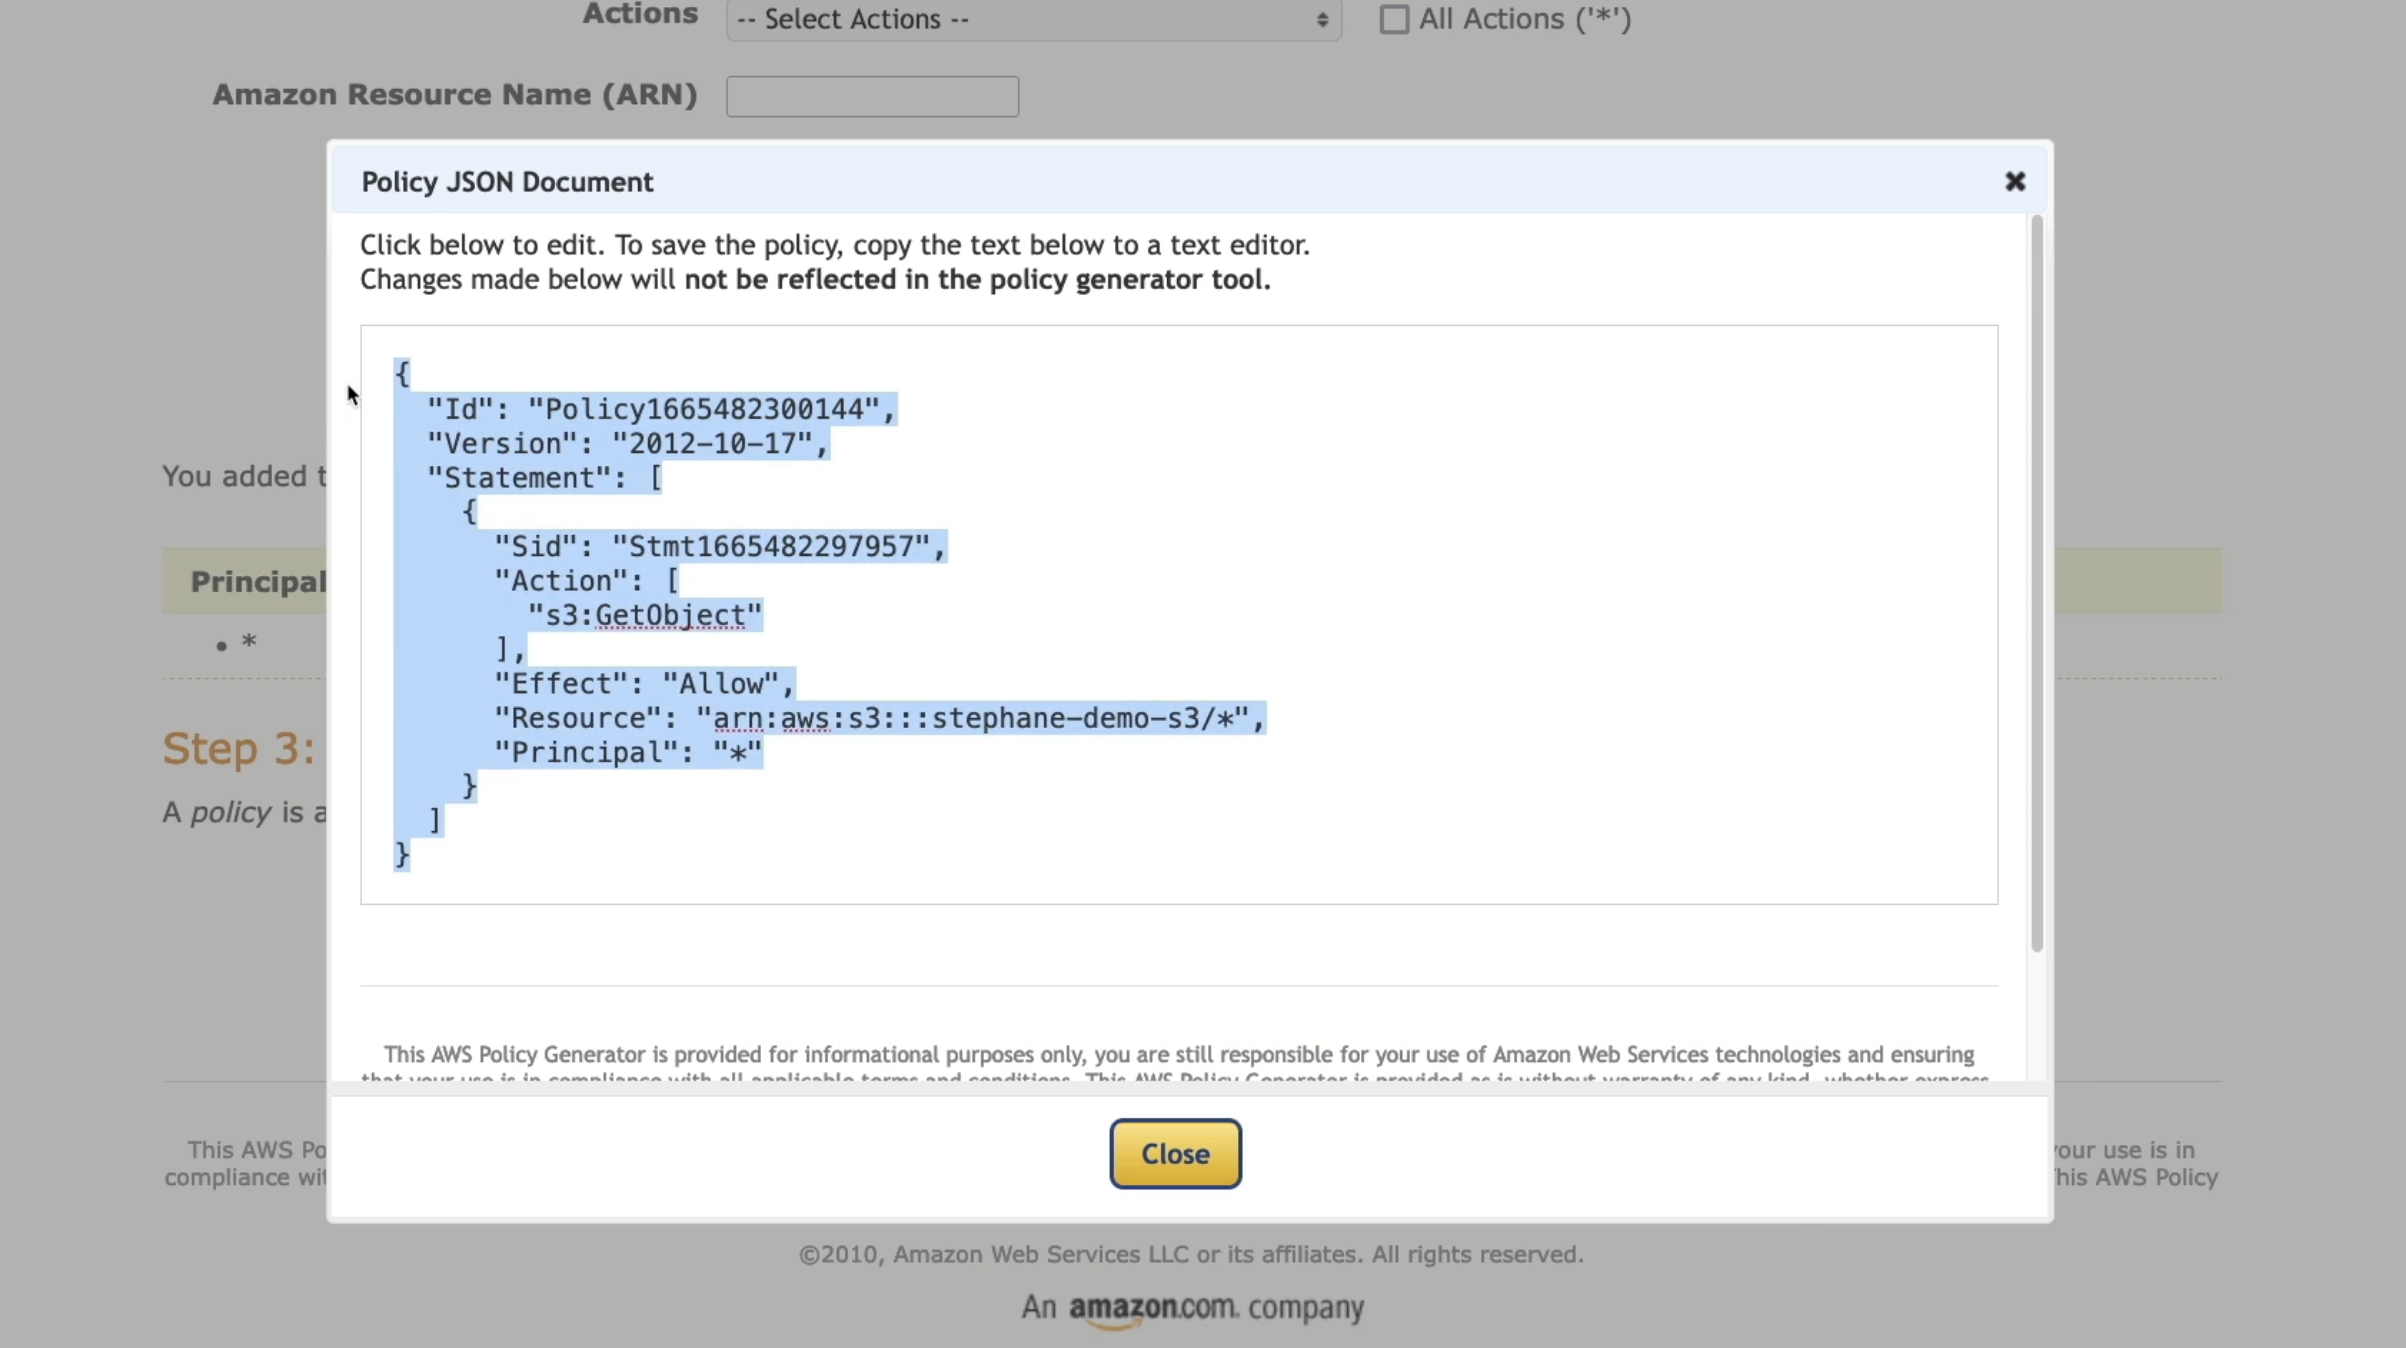
-
Then add a
/and*at the end. Example:arn:aws:s3:::your-bucket-name/*
📌 The reason we add
/and*is becauseGetObjectapplies to objects within the bucket, not the bucket itself.
- Add the statement.
- Click Generate Policy.
📋 Step 4: Apply the Policy
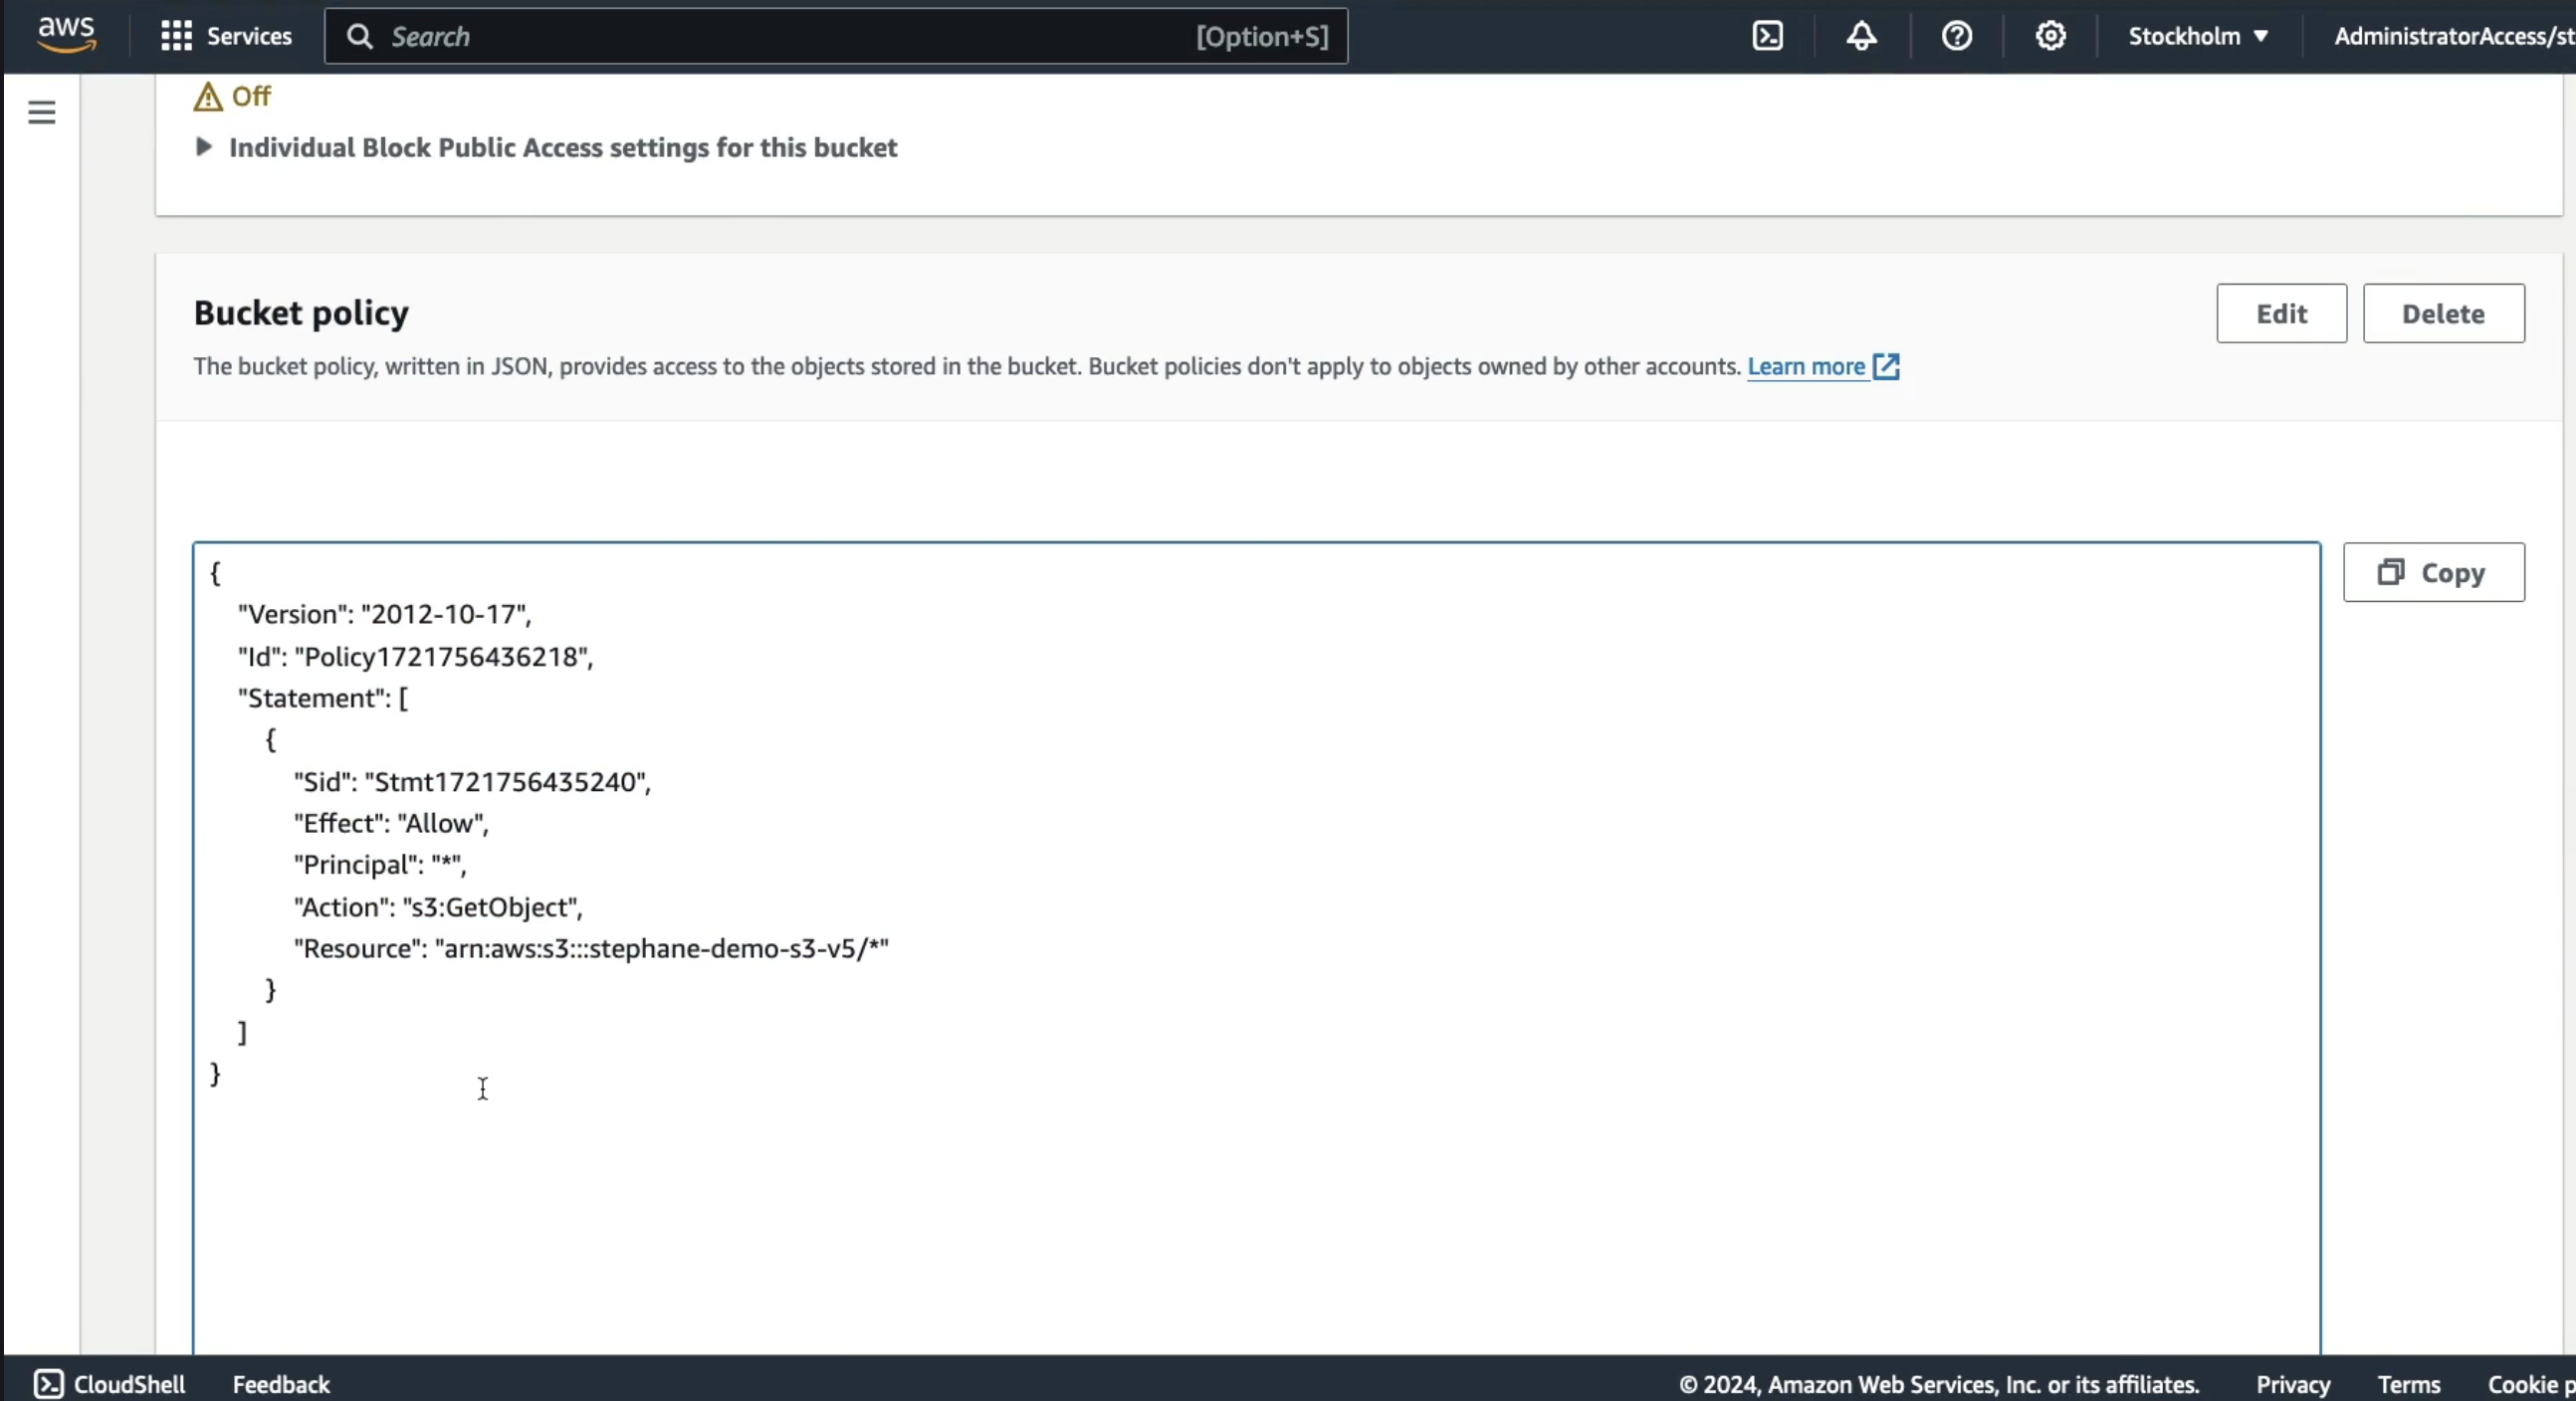
- Copy the generated JSON policy.
- Go back to the Bucket policy section in the S3 console.
- Paste the policy.
- Click Save changes.
✅ Now the bucket policy has been successfully applied.
🌐 Step 5: Test Public Access
- Go into your object:
coffee.jpg
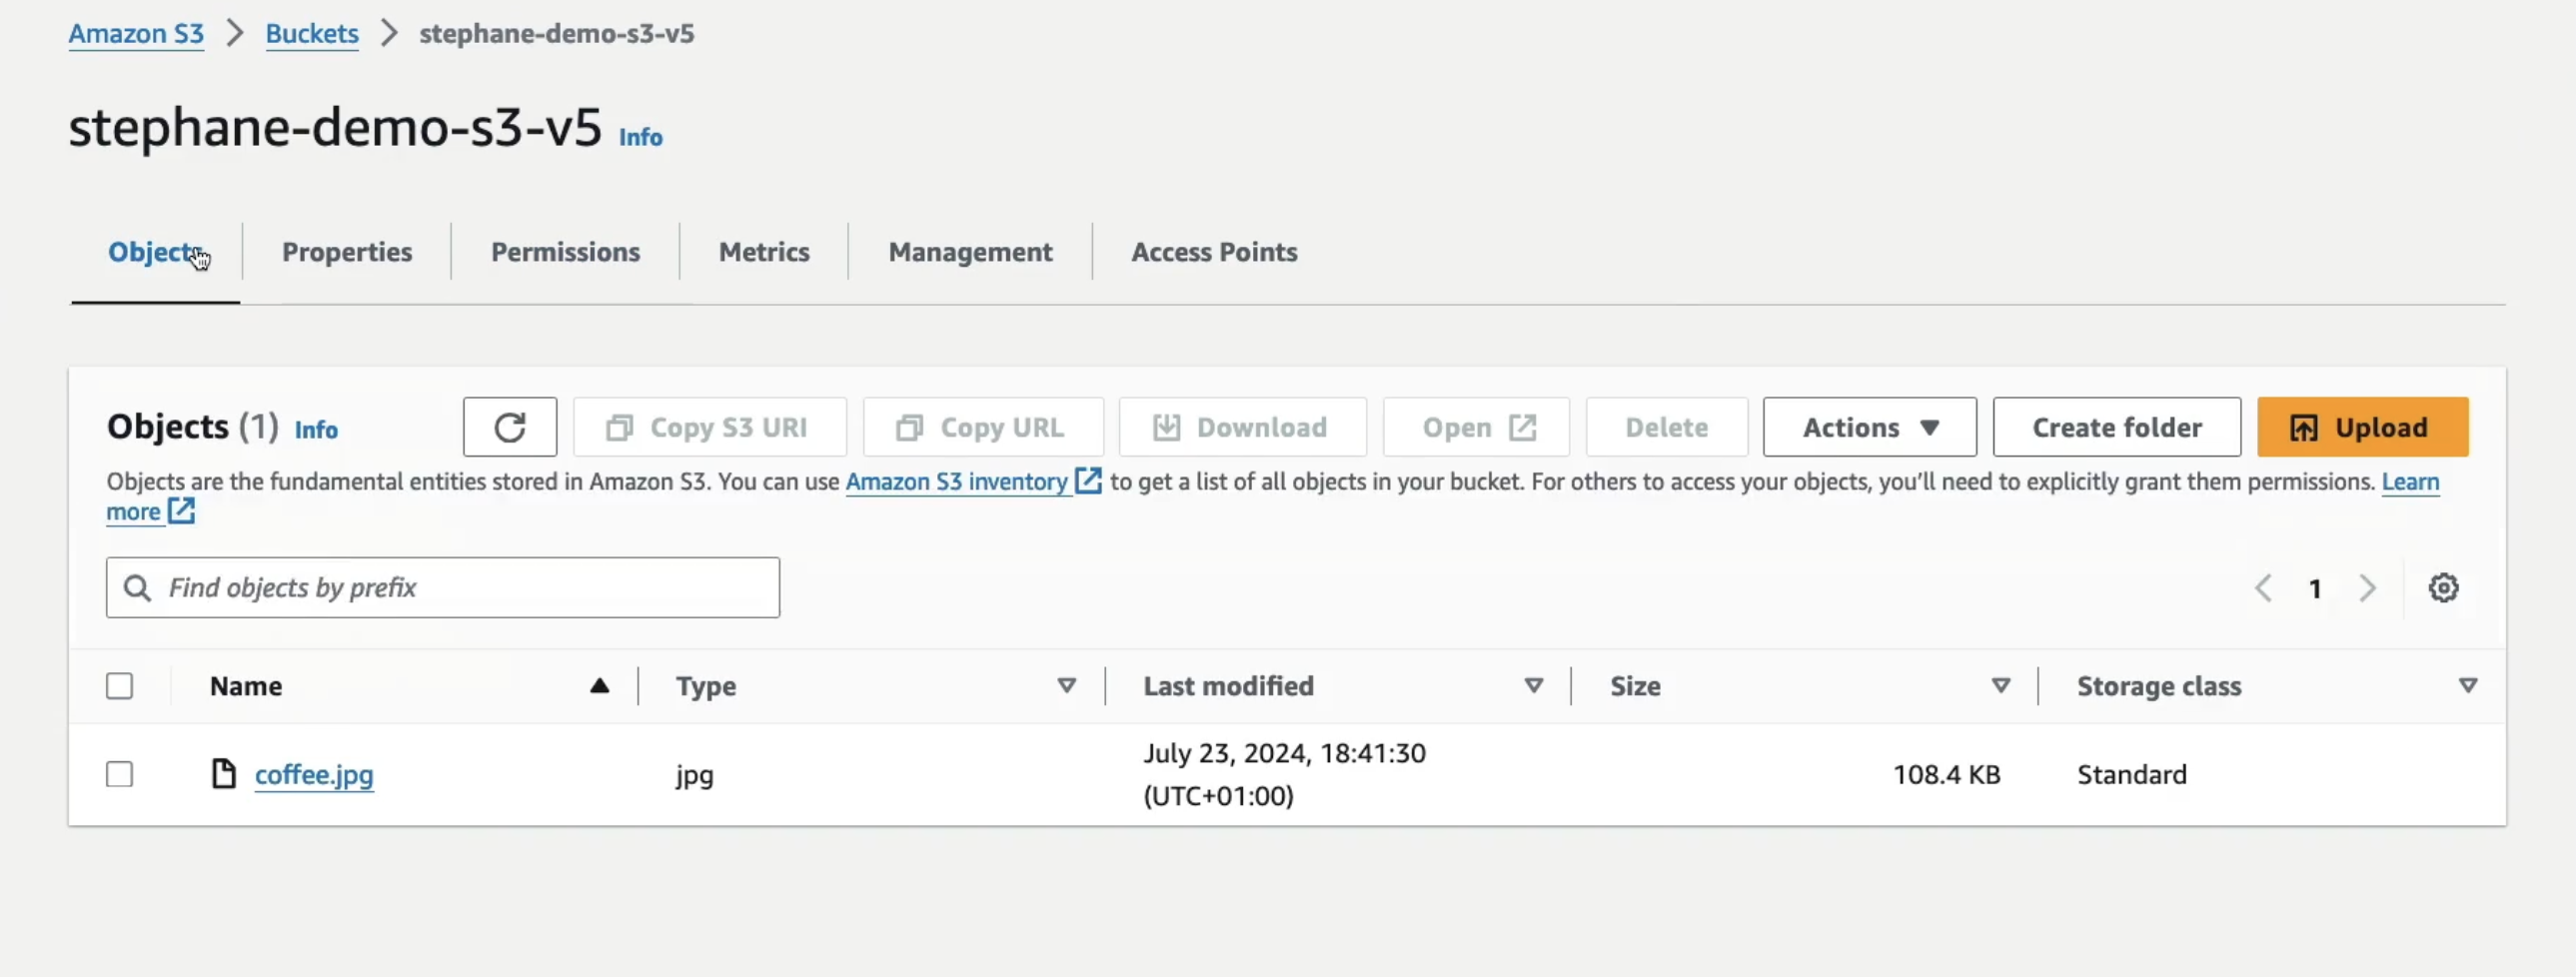
- Find the Object URL.
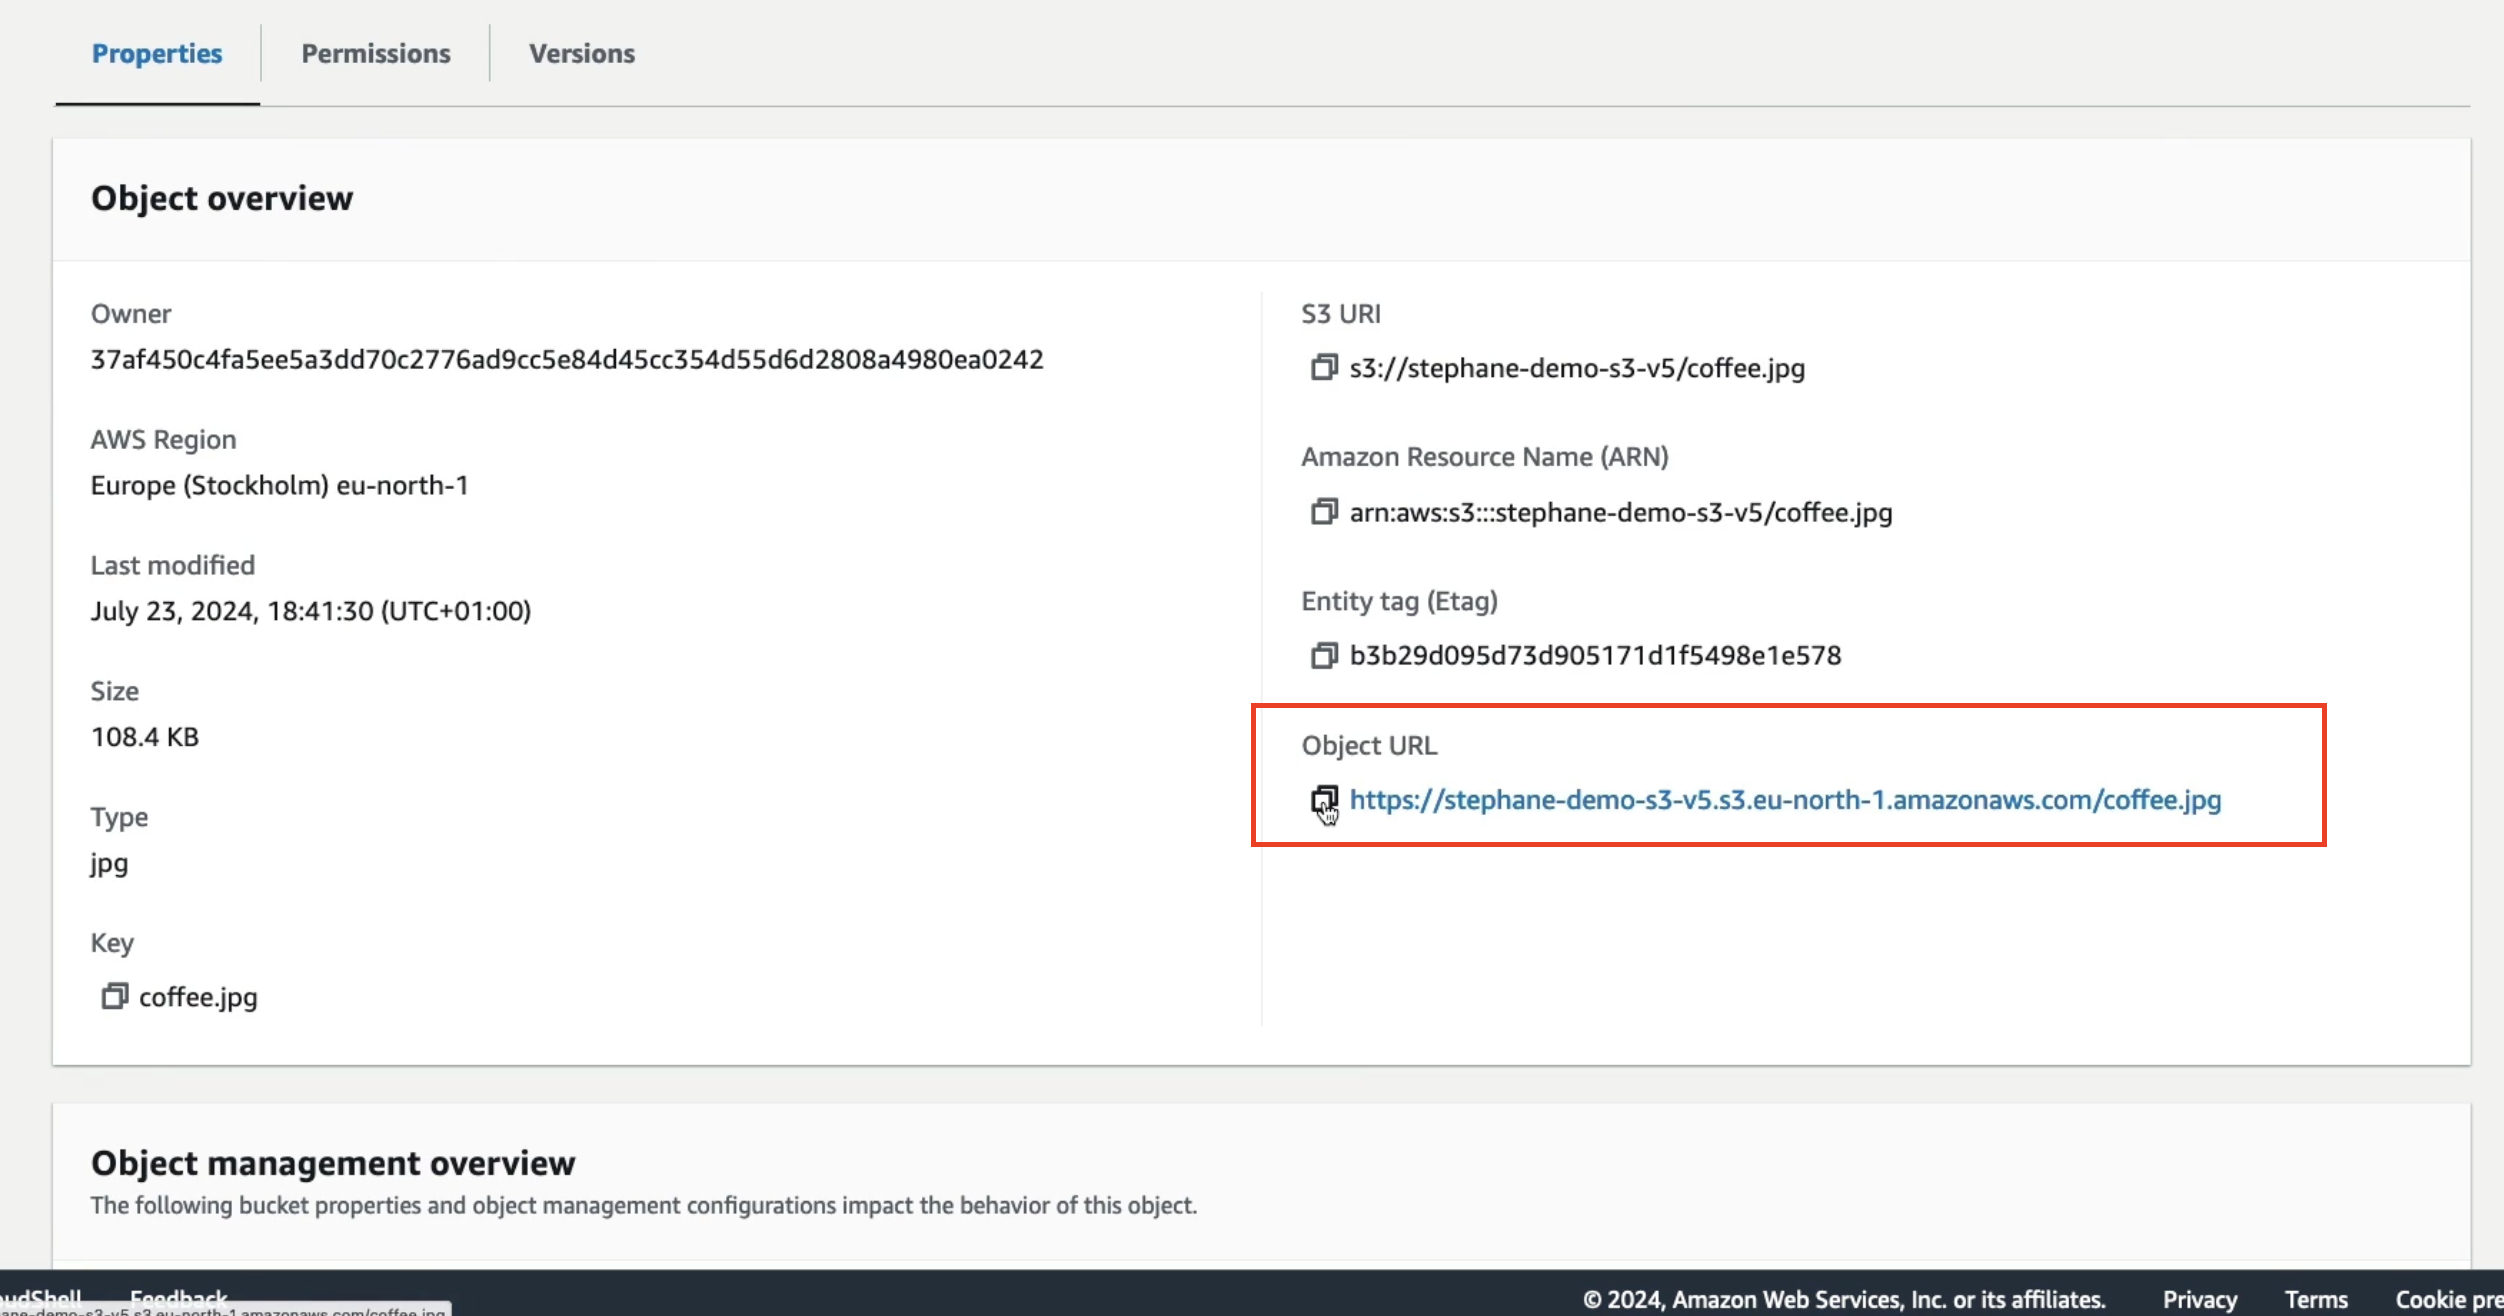
- Copy and paste it into your browser.
→ You should now see that your coffee image is fully visible.
Any other objects in this bucket are also public now.
What We Covered in This Lecture
- We created a bucket policy.
- We used the AWS Policy Generator.
- We validated that our image is now publicly accessible.