MFA Hands On
Now that we’ve understood the importance of securing our AWS accounts, it’s time to implement two key steps hands-on:
- Define a Password Policy
- Set up Multi-Factor Authentication (MFA) for the root account
1. Define a Password Policy
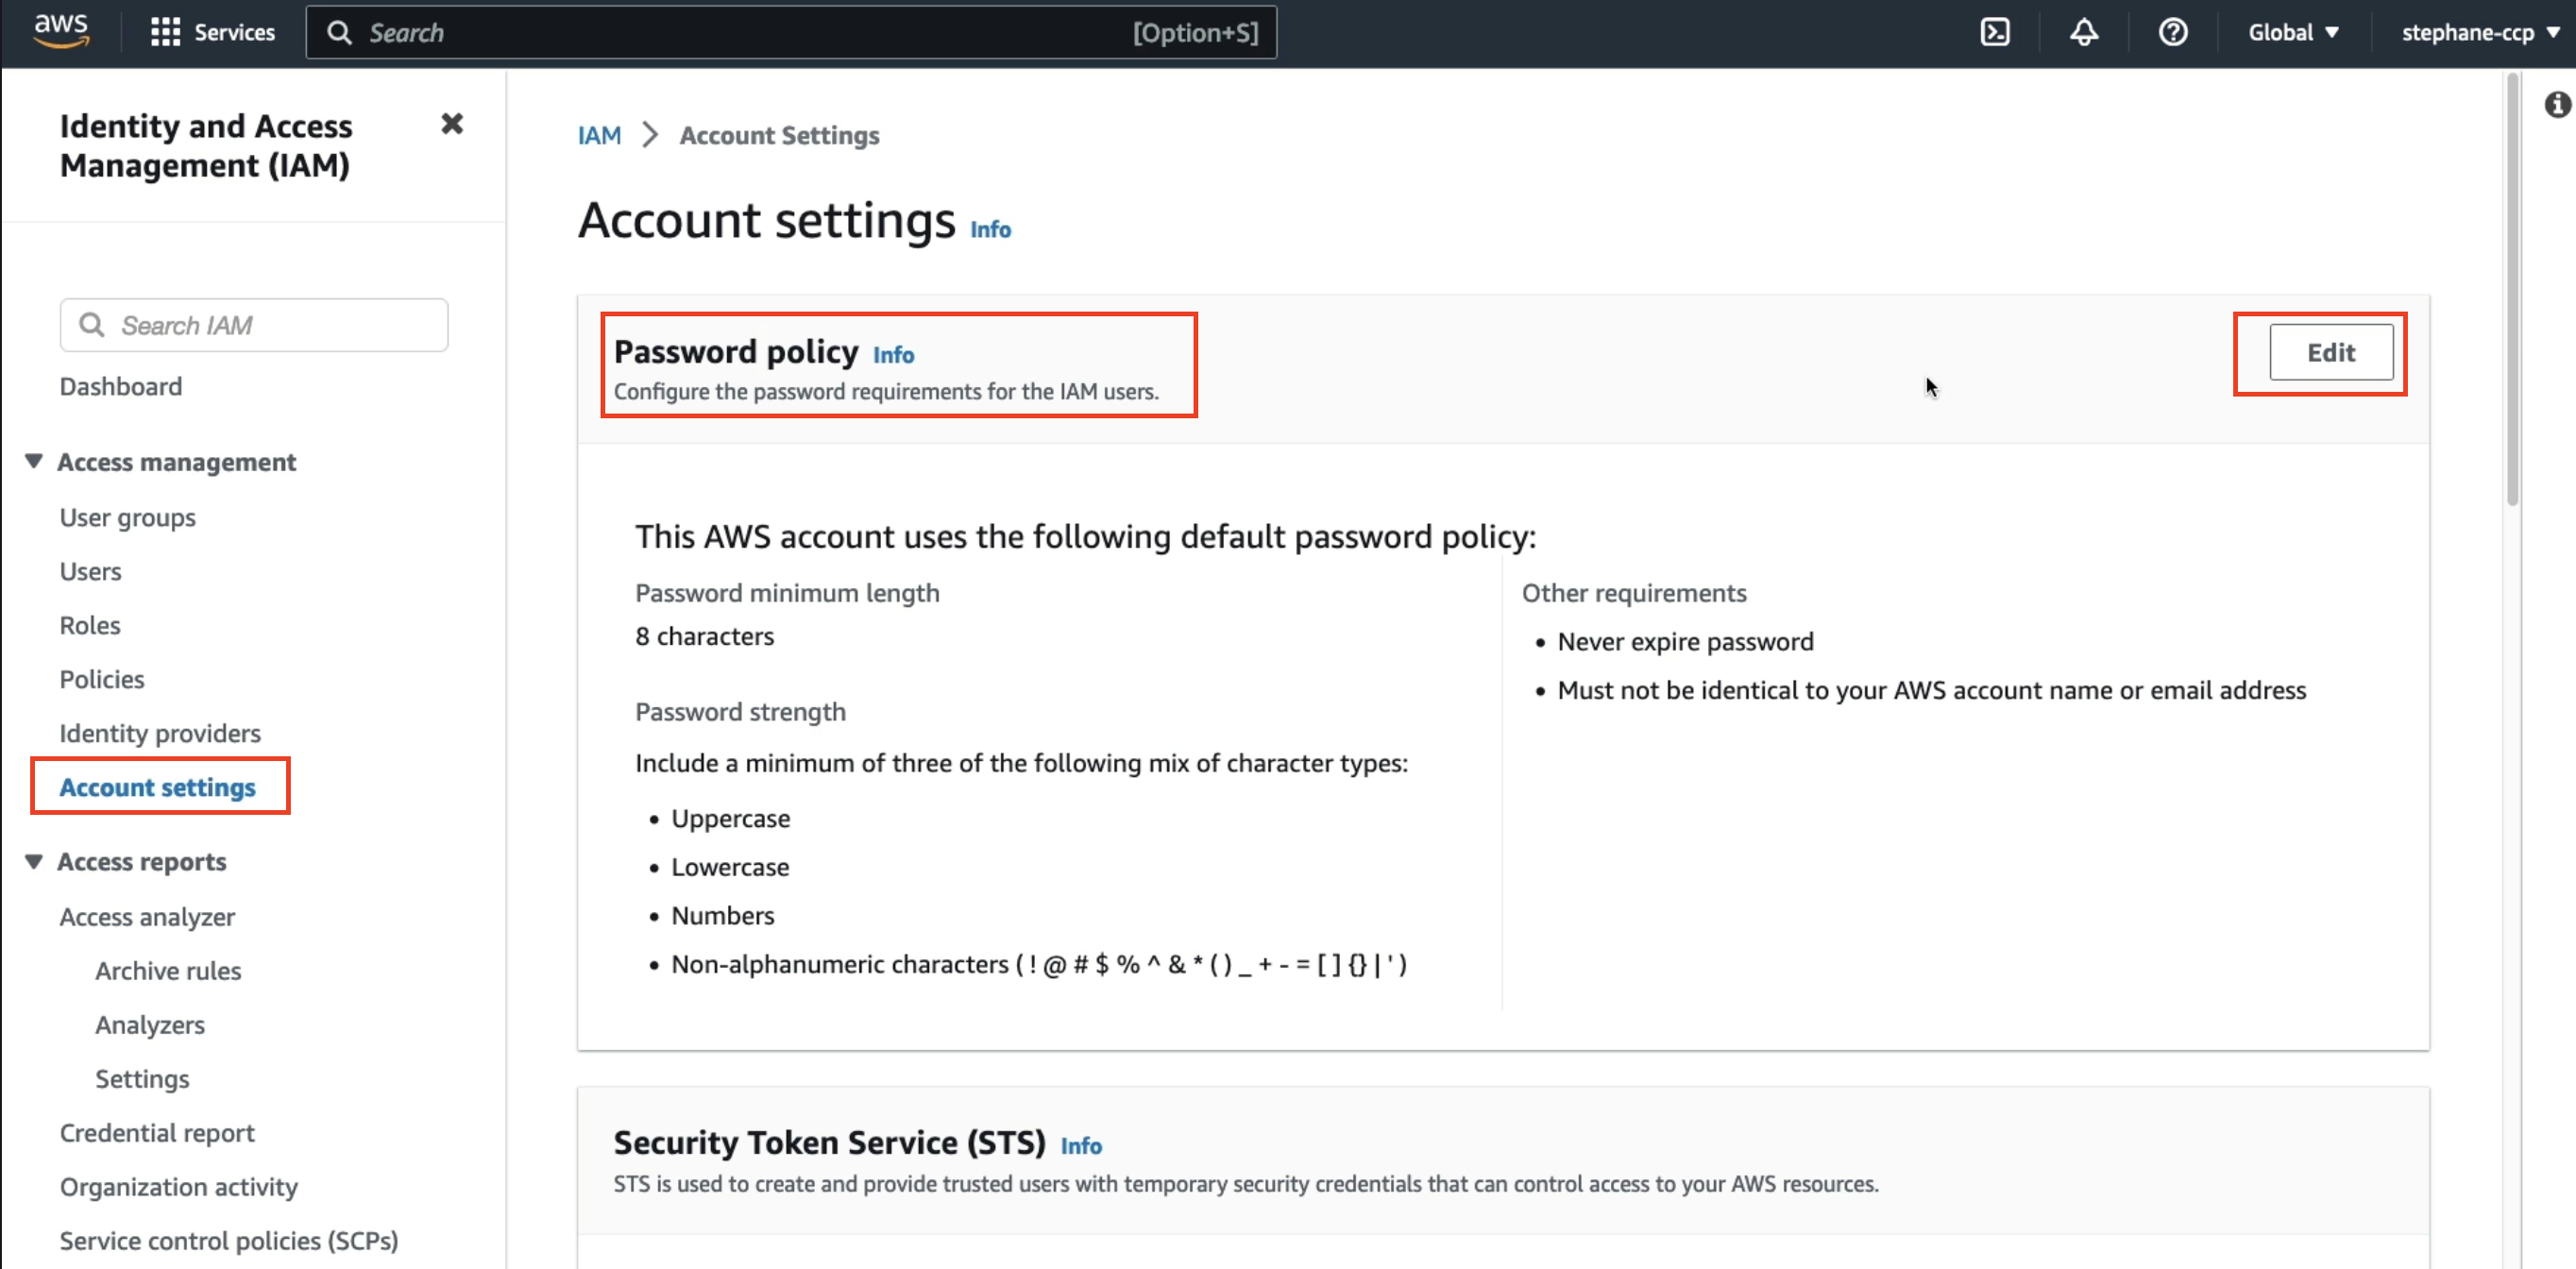
To set a password policy:
- Click on Account Settings from the left-hand side of the IAM console.
- Under Password Policy, click Edit.
You can now either:
- Use the IAM default password policy,
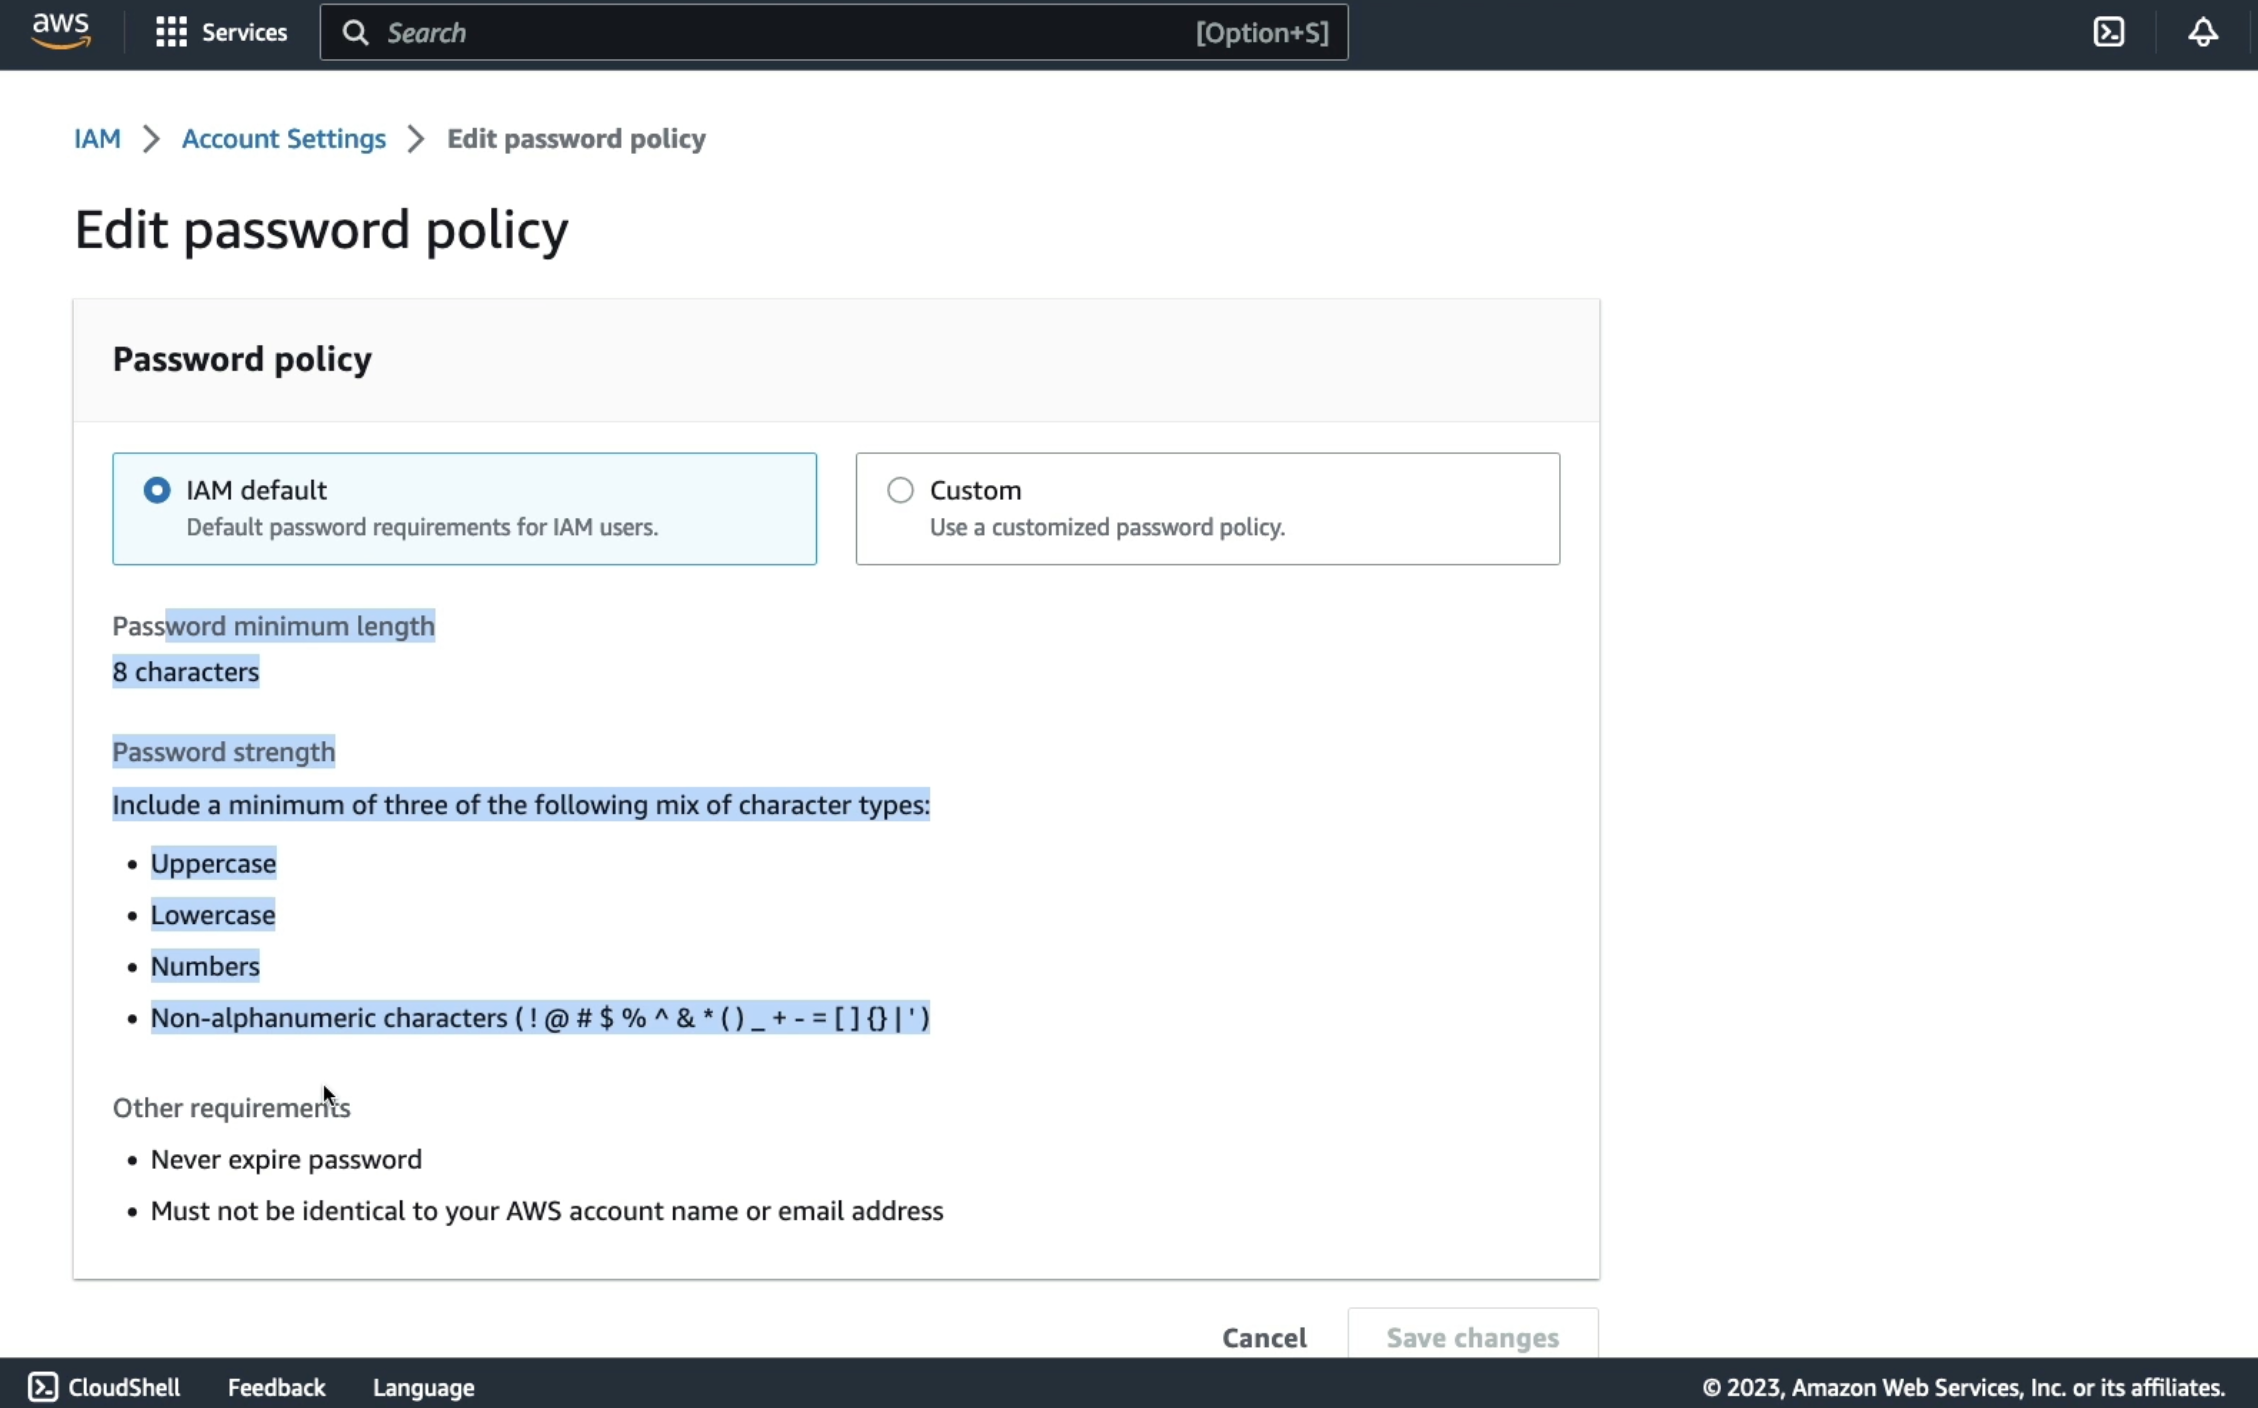
OR
- Customize it with your own settings.
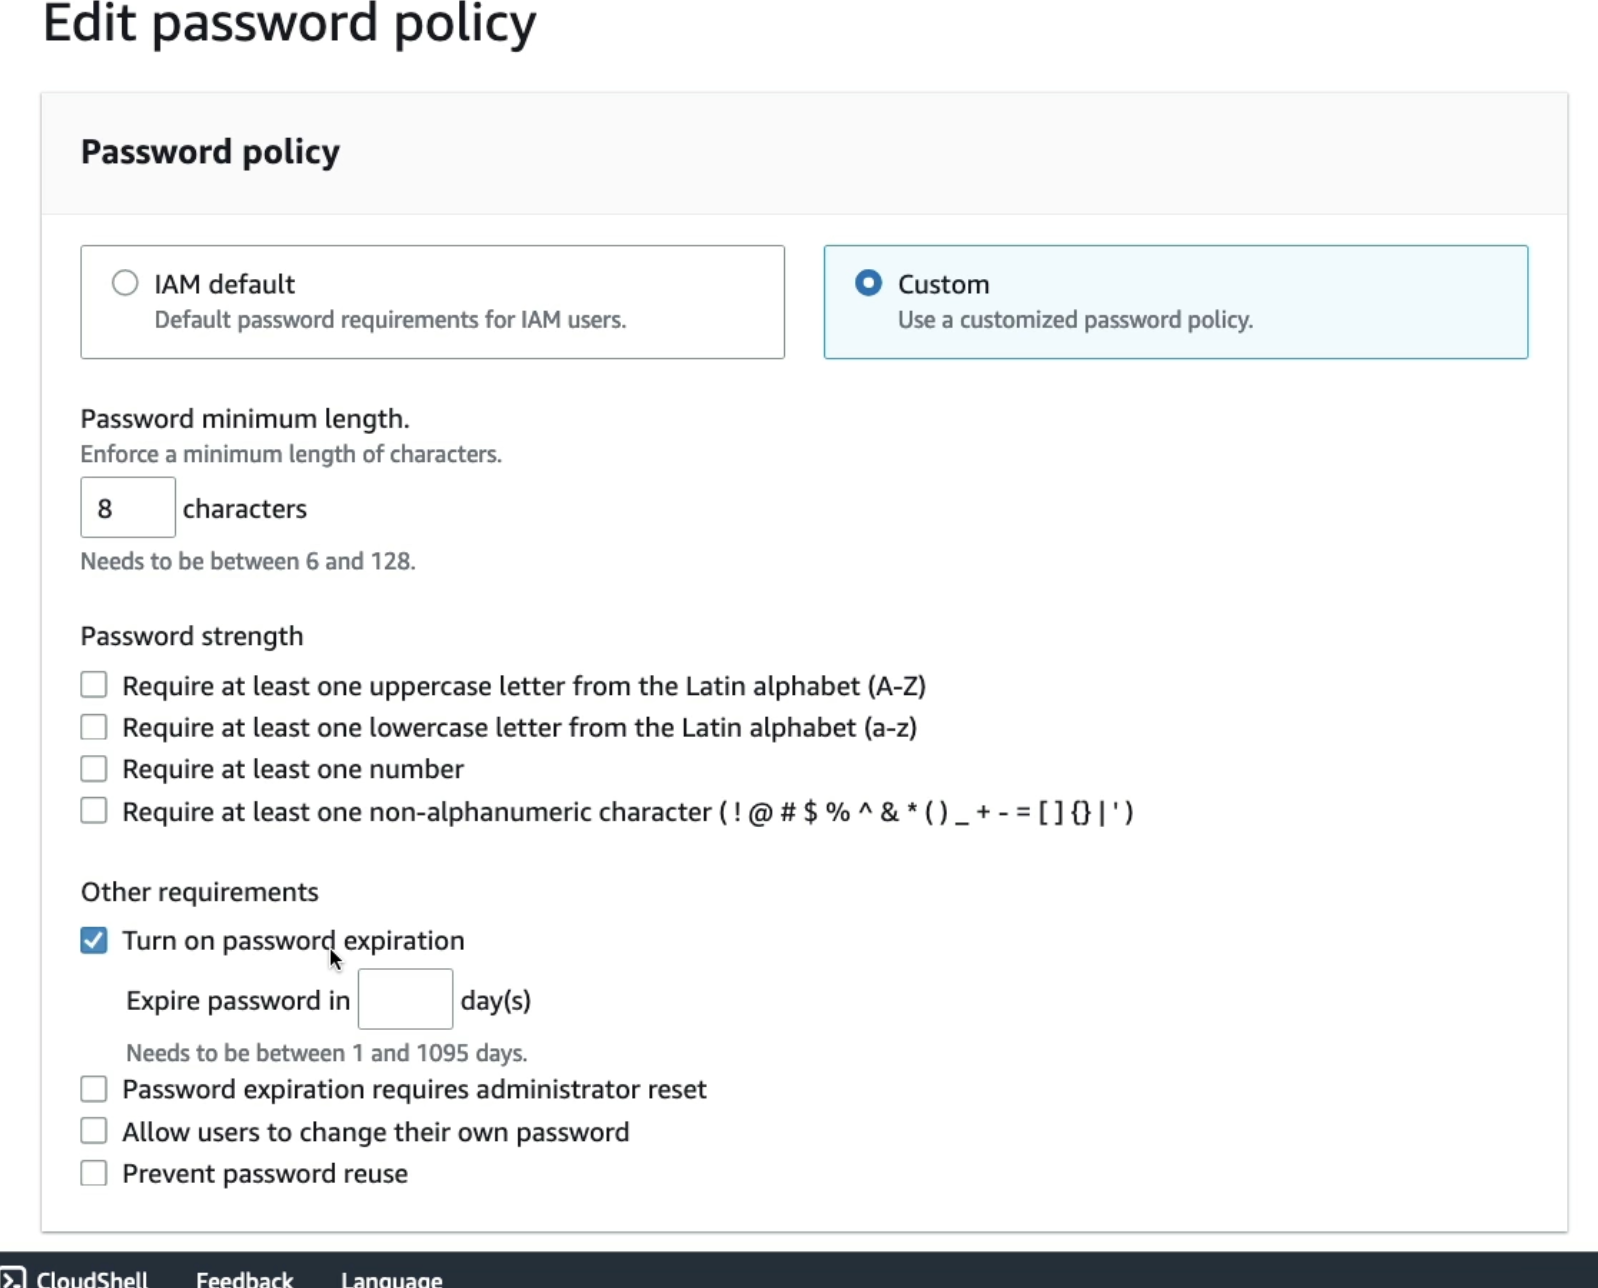
Custom options include:
-
Set a minimum password length
-
Require:
- Uppercase letters
- Lowercase letters
- Numbers
- Non-alphanumeric characters (e.g., symbols like
?)
-
Enable password expiration (e.g., expire after 90 days)
-
Decide whether:
- Administrative resets are required when passwords expire
- Users are allowed to change their own password
- Password reuse is prevented
This password policy can be edited directly from the IAM console and is the first part of securing your AWS environment.
2. Setting Up MFA for the Root Account
To secure your root user with MFA:
- Click on your account name
- Select Security Credentials
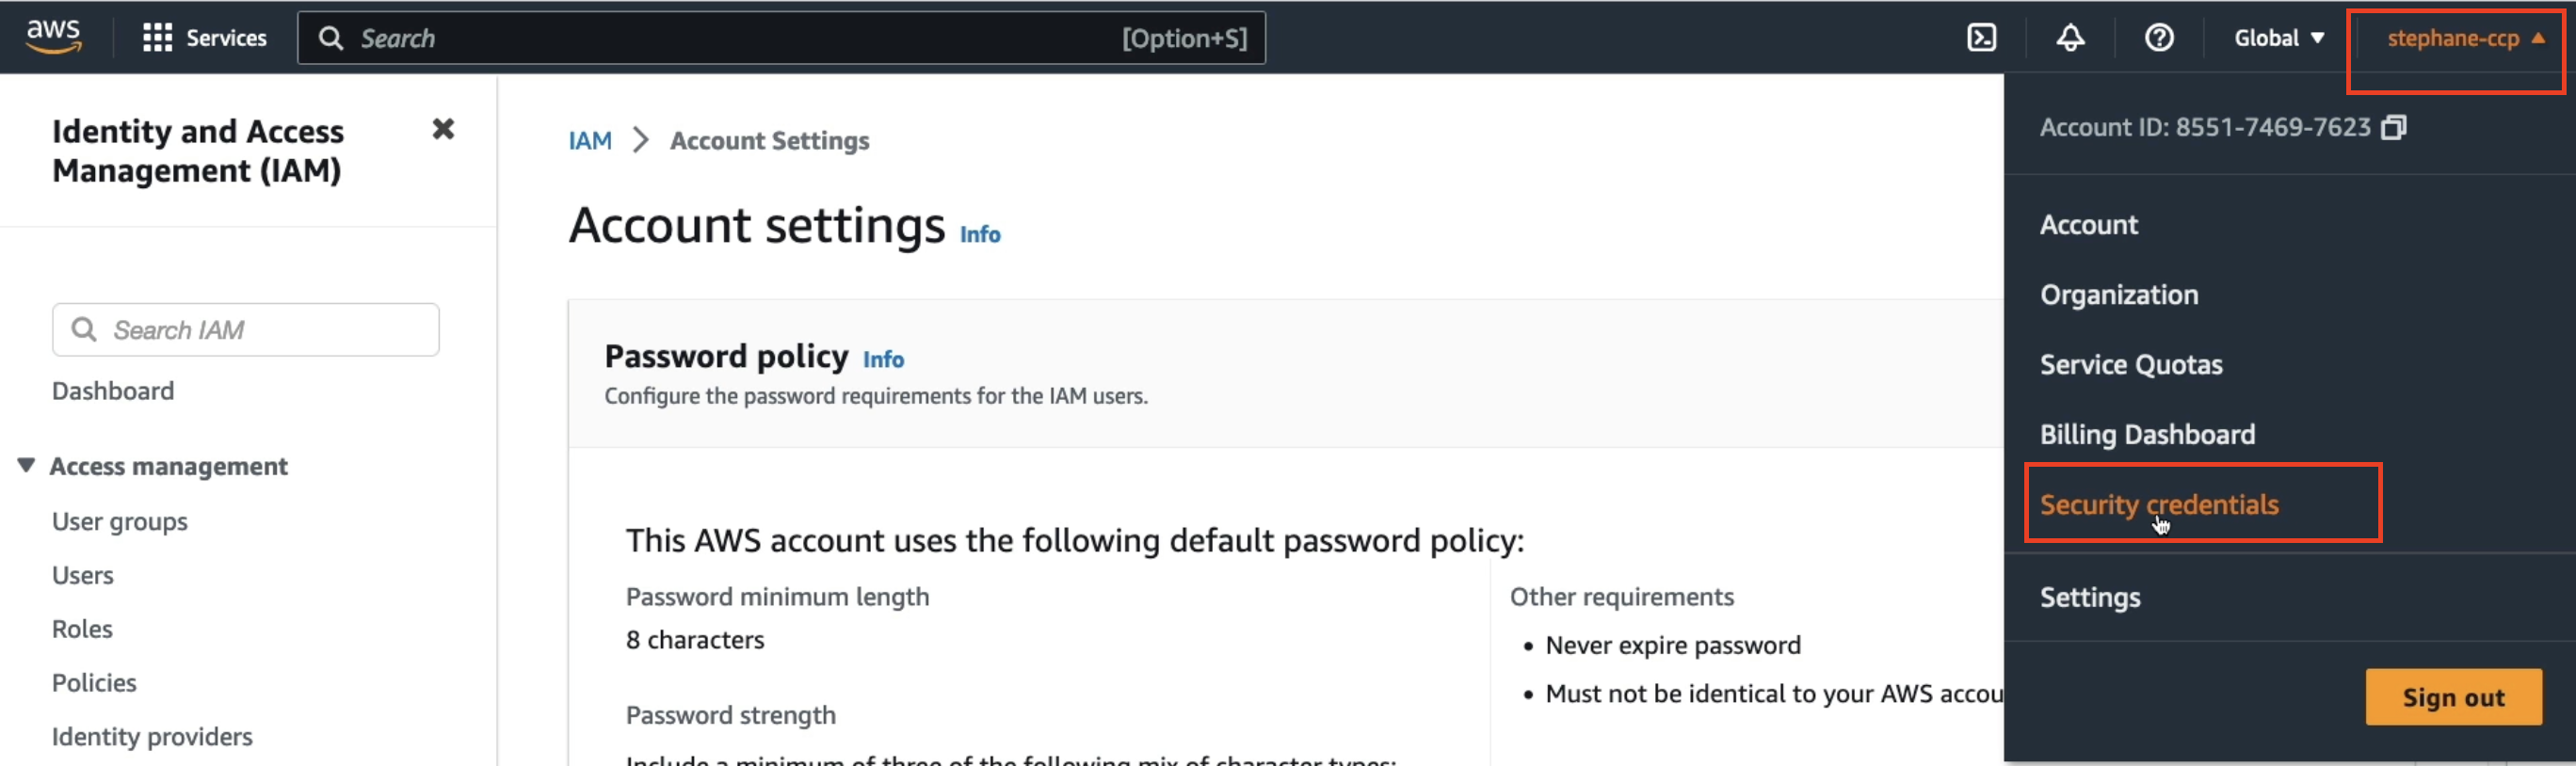
- Ensure you’re logged in as the root user
- Look for My Security Credentials (root user) section
⚠️ Important: Some students have accidentally locked themselves out by losing access to their MFA device. If you’re unsure or worried about losing your phone, it’s okay to just watch the video demonstration or practice carefully, as you can delete the MFA device later if needed.
Assigning an MFA Device
Follow these steps to add an MFA device:
-
Click Add MFA Device
-
Give it a name (e.g.,
"My iPhone") -
Choose the type of MFA device:
- Authenticator App (this example uses this)
- Security Key
- Hardware TOTP Token
For this demo, the Authenticator App is used (virtual MFA).
Setting Up the Authenticator App
Next step is to setup the Authenticator App. The compatible apps are available for Authenticator App:
- Android
- iOS
Examples include:
- Twilio Authenticator (used in this demonstration)
Steps:
- Launch the app on your phone
- Click Show QR Code in AWS
- On your phone, add an account and scan the QR code
- The app will automatically add the account and name it
- You will now see an MFA code generated in real-time
Entering MFA Codes
AWS will ask for two MFA codes to ensure the setup is correct:
- First Code:
301935 - Second Code:
792843
(Note: Codes will vary for your device)
After entering both codes:
- Click Add MFA
Viewing Registered MFA Devices
- AWS currently allows up to 8 MFA devices
- You can scroll down to view them in the list on your AWS account
- The one just created will appear (e.g.,
"My iPhone"in my case) - You also have the option to remove any MFA device
Logging in with MFA
To use MFA during login:
- Log out of AWS
- Log back in using the root account and password
- You’ll be prompted for an MFA code
- Open your app, enter the displayed code, and click Submit
You’ll now be successfully logged in with an extra level of security on your AWS account.
That’s it for this hands-on MFA setup lecture.
You’ve seen how to define a password policy and secure your root account with Multi-Factor Authentication.
▶️ See you in the next lecture!